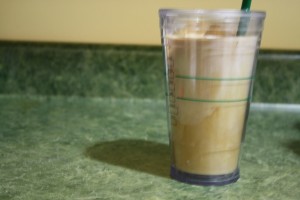
Pickled Ginger

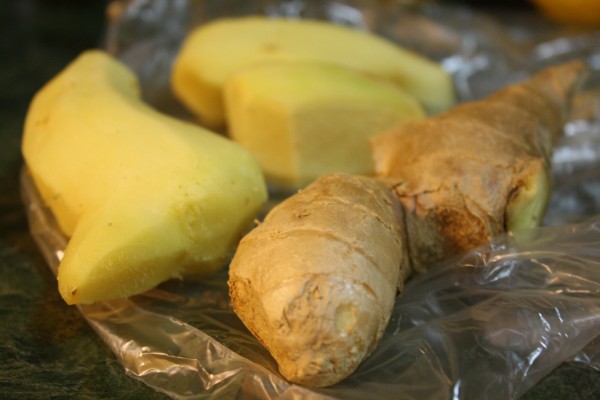
We sent my father shopping with a list that was pretty foreign to him. Luckily, the lady at the fruit store pointed him towards all the correct ingredients and we were able to make Stephanie’s soba noodle salad. Unluckily, he had no idea what the ingredients were or what quantities to get, and he came home with a foot of ginger! What did we do with all that ginger? Why, pickle it of course! Pickled ginger is definitely a staple at sushi restaurants, but now we can eat it whenever we make Asian-inspired meals.

This was a really simple recipe, something that can be whipped up on a weeknight or while doing some prep work in the kitchen.

Ingredients:

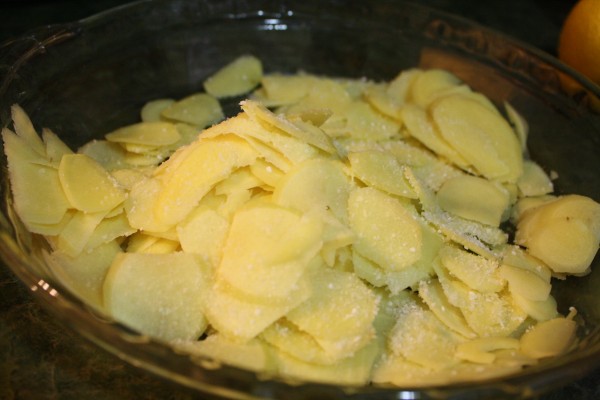
  • 1 pound of ginger, peeled and sliced very thinly (use a mandolin or vegetable peeler)
  • 1 teaspoon salt
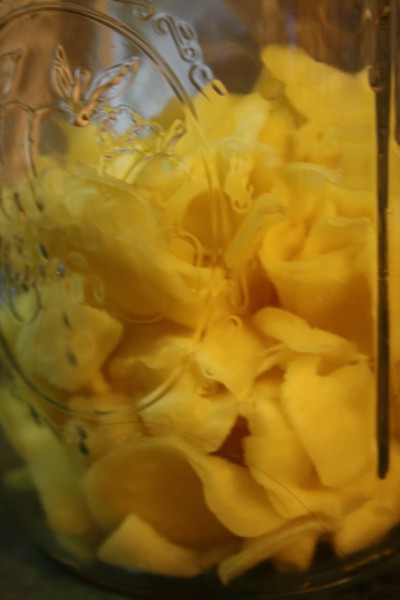
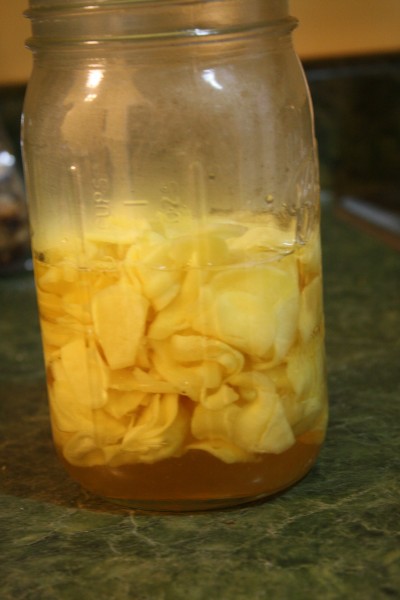
  • 1 1/2 cups rice vinegar
  • 1 cup sugar

Beef and Veggie Stew

As you can tell, we like making stews in our Dutch ovens. It’s not something we do much during the summer, but now that the temperature is dropping, we’re back to braising and browning and serving over rice!

I used mostly vegetables from my csa with a few other groceries that were hanging around in my fridge. Served with a simple green salad, this made for a delicious dinner for two with enough leftover for a lunch the next day. Which is the perfect kind of dinner.

Beef and Vegetable Stew

Ingredients:

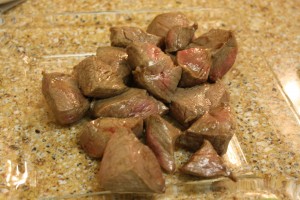
  • 1 pound beef stew meat (I don’t know what that means, I bought it at Trader Joe’s)
  • 4 carrots, chopped
  • 3 medium potatoes, chopped
  • 3 tiny red onions, chopped
  • 1 celery stalk, chopped
  • 5 cloves of garlic, minced
  • 2-3 cups of stock or water
  • olive oil, salt and pepper

Directions:

  1. Preheat the oven to 400 degrees.
  2. Brown the beef over medium-high heat in a little bit of olive oil in a heavy pot or Dutch oven.
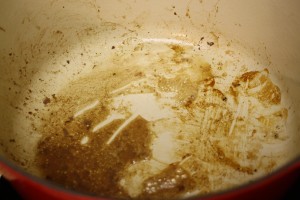
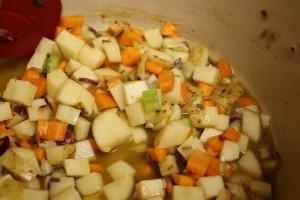
  3. Remove beef from pot and stir in chopped onions. Let cook for 5 minutes and add garlic. Mix and add the rest of the vegetables. Season with salt and pepper.
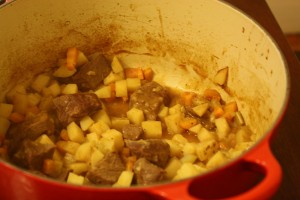
  4. Add half of the stock (I used vegetable stock), mixing well. Put the beef back into the pot and mix. Add more stock if it seems too dry.
  5. Bring the mixture to a boil. Lower the heat, cover, and let simmer, stirring occasionally, for 10 minutes.
  6. Put the pot in the oven and bake for 30-45 minutes, stirring occasionally.
  7. Serve over rice.

Duck and Mushroom Pizza

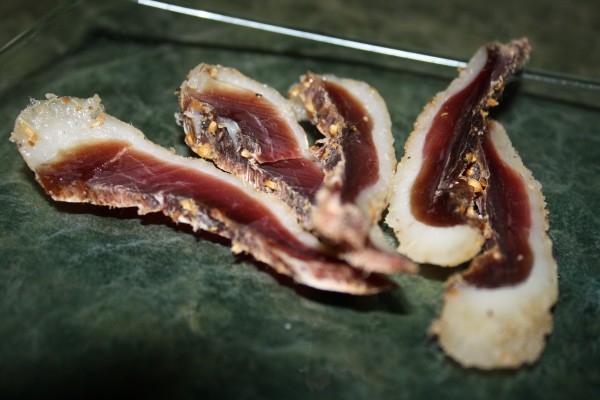
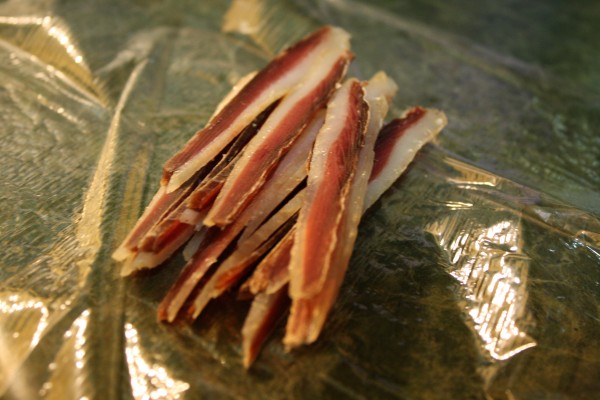
Duck pizza?! Yeah, that’s right. I had to make something with the prosciutto besides eating it with fruit. And who says pizza has to be dairy, anyway?

To tell you the truth, I didn’t love the prosciutto plain. It was too, well, duck-y for me. But rendering the fat and cooking mushrooms in it, then toasting all that on some homemade pizza dough? Now that’s a super easy gourmet dinner. If you don’t have duck, make this pizza with chicken. It will still be a great dinner and a nice change from that sauce-and-cheese pizza you usually have. (Or, if you don’t have pizza as much as I do, it’s still enjoyable.) Continue reading

Duck Prosciutto, Take 2

Ah, so I bet you were wondering what I did with that other duck breast. Well, I didn’t just leave it alone in the fridge to roast. I didn’t cure it the same way, either. I found a completely different recipe for duck prosciutto and experimented with that one. No, I did not confuse the two breasts hanging in my fridge at the same time (Zeke was quite confused, I might add). I liked this recipe because it called for a bunch of different spices and I got to use my mortar and pestle. I love that tool (those tools?). Continue reading

Irish Soda Bread

Guess what!?

I’m off to Ireland this evening! David and I are going to spend 10 days driving, hiking, exploring and photographing all over the country. I can’t wait to tell you all about it when we get back, but for now I will leave you with this recipe I made in preparation for my trip: Irish Soda Bread!

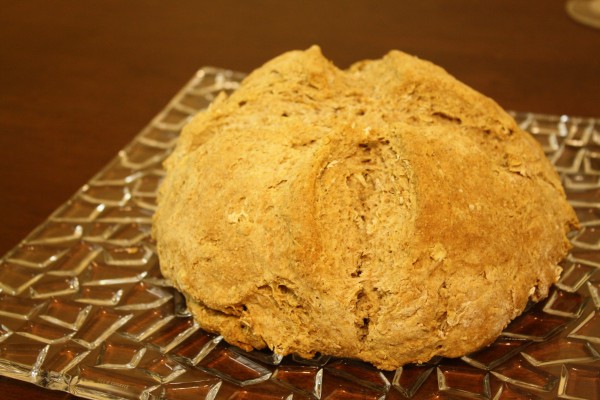
Soda bread is a quick bread that uses baking soda (hence the name) instead of yeast as a rising agent. It is an easy bread to make, since there is barely any kneading (10 times!) and no waiting for it to rise or anything; just mix and bake. It became popular in Ireland when baking soda was brought there and is still popular today.

When this first came out of the oven I thought I did something wrong, because it was kinda lumpy and ugly looking. But then I google-imaged Irish soda bread and I realized that it’s supposed to look like that!

So see you all in 10 days, and until then you have Jessica to keep you company. Don’t fret, she has a lot of interesting duck recipes for you!

Irish Soda Bread from Food & Wine

Ingredients:

  • 2 1/2 cups all-purpose flour
  • 2 1/4 cups whole wheat flour
  • 3/4 cup rolled oats
  • 1 tablespoon plus 1 1/2 teaspoons baking powder
  • 2 teaspoons sugar
  • 2 teaspoons salt
  • 3/4 teaspoon baking soda
  • 1 3/4 cups buttermilk
  • 6 tablespoons unsalted butter, melted and cooled

Directions:

  1. Preheat the oven to 350.
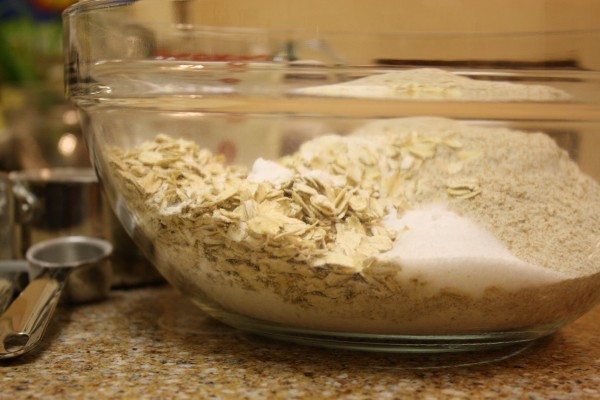
  2. Whisk all of the dry ingredients together.
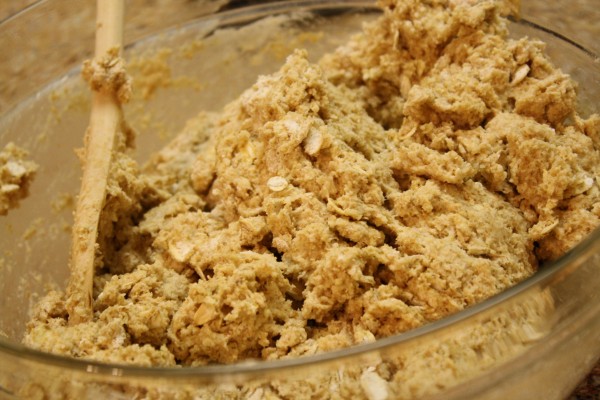
  3. Add the buttermilk and cooled butter and stir with a wooden spoon until everything is well combined.
  4. Turn the dough out onto a lightly floured surface and knead it 10 times.
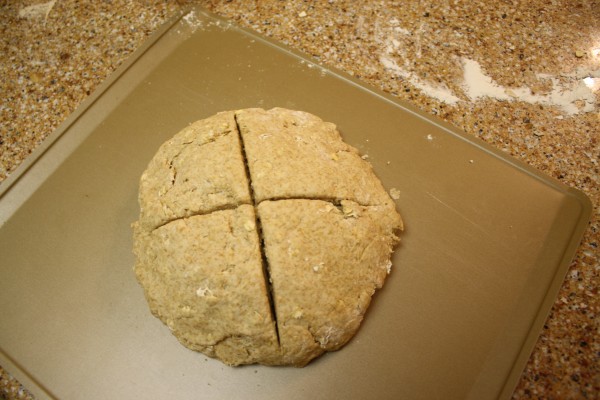
  5. Shape it dough into a 9-inch round loaf and transfer to a baking sheet. Slash an X about 1/4 inch deep in the top of the bread.
  6. Bake for about 1 hour, or until the bread is golden and the bottom sounds hollow when lightly tapped. Cool on a wire rack.

Candied Peanuts

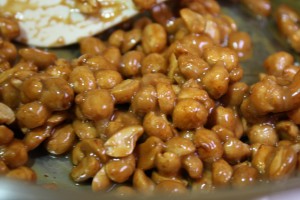
Mmm, peanuts. Mmm, caramel. Well here we have the best of both worlds in what has to be the easiest candy I have ever made! It gives the flavor of peanut brittle (I’ll share that recipe with you soon, I promise) but can be thrown together without a thermometer and pretty much three ingredients. Make this the next time your friends come over, you won’t be sorry. It would also be a great hostess gift. My friends and family like it when I bring baked goods, but when I bring candy, they go crazy.

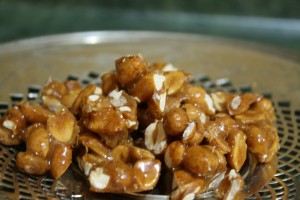
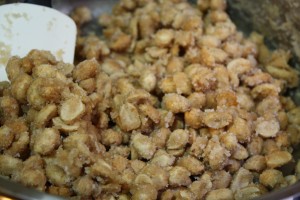
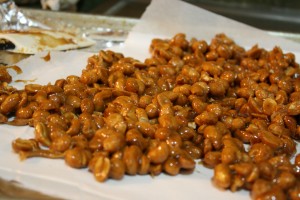
I have a confession to make. These peanuts are not supposed to be clumped together. Each individual peanut was supposed to be covered in hardened caramel. I was devastated when I took these off the fire, perhaps a few seconds too late. Then I tasted them, and that feeling went away fast. They’re awesome! So don’t worry if you make a mistake. You’ll probably like these anyway (what’s not to like?).

Never made candy before? Don’t fuss! This is the perfect place to start. You’re still boiling and bubbling sugar (see above), you’re still adding the nutty peanut, you’re just not messing with fussy crystallizing sugars and candy thermometers. Not that we don’t love those, but they’re not great for first timers. The only thing you need to be careful of with this recipe is stirring. Keep on stirring. Don’t stop. I know this is easy: three(ish) ingredients and one pan, but that caramel can burn if it’s not moved around enough. Have you ever tried cleaning burning caramel off the sides of a pot? I have; it’s not so fun, trust me. Pay attention and you’re pretty much guaranteed to get this right the first time.

If you’re confused by the instructions, don’t fear! That’s why we have everything broken up into short steps. That’s why we have pictures of each step. It’s easy, I promise! Now try it. You definitely won’t regret it. The people you share it with will love you forever.

Candied peanuts, adapted from David Lebovitz

Ingredients:

  • 2 cups peanuts
  • 1 cup white sugar
  • 1/3 cup water
  • A pinch of cayenne pepper (optional)
  • Kosher or sea salt (amount depends on the saltiness of your peanuts)

Directions:

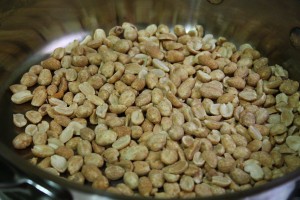
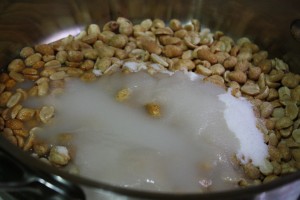
1. In a large tall-sided saute pan, add peanuts, sugar, and water.

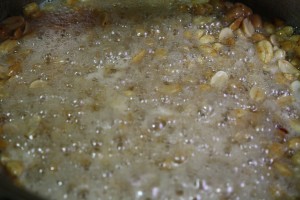
2. Turn heat to medium and stir the peanuts with the sugar and water. The sugar should dissolve into the water. The water will start bubbling. Continue stirring.

3. Keep stirring. The water should evaporate slowly.

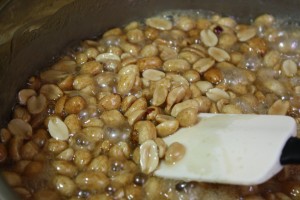
4. Keep stirring. When there’s no more water, you will notice that it looks kind of sandy and is getting harder to stir. The caramel is light in color. Lower the heat slightly and stir until it is dark.

5. Keep stirring, scraping caramel from the bottom and coating each and every peanut in it. Tilt the pan away from the fire as you stir to regulate the heat.

6. Sprinkle with cayenne and salt.

7. Using a spatula, scrape the peanuts onto a silicone covered baking sheet. Flatten as much as possible and let cool. [See picture below. I didn’t do a great part flattening this. Next time I’ll use a baking sheet to flatten from the top – the peanuts are very hard to break these apart if they’re not in a single layer.]

7. When cool, break apart peanuts (I used my hands, but you can use a mallet if you want smaller pieces)

Chocolate Chip Pumpkin Bread + Chipless Pumpkin Muffins

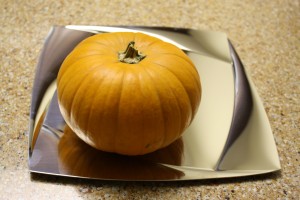
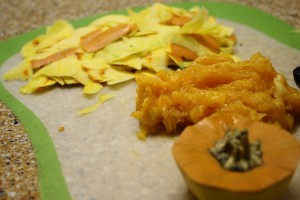
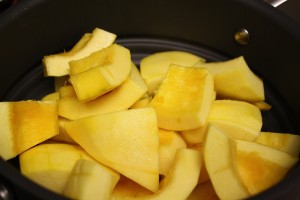
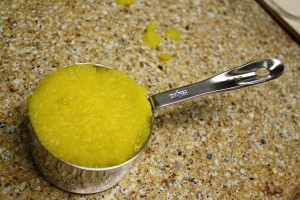
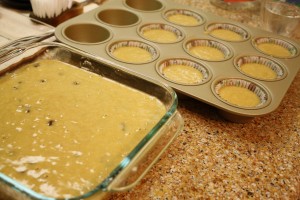
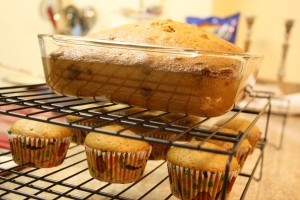
I got a pumpkin from my CSA! It’s a baby bear pumpkin, how cute is that! I had all sorts of ideas of things to do with this pumpkin, but since it was so little I had to limit the pumpkin recipes. I ended up roasting the seeds to make bizir and then getting about two cups of puree. With one cup I made this pumpkin bread and I froze the other cup with intentions to turn it into ice cream soon.

This chocolate chip pumpkin bread recipe has been in our family for ages. We have been making it at least once a year for as long as I can remember, always from fresh pumpkin. Jessica has the original copy of the recipe, which I’m pretty sure is a photocopy of a recipe that my mom used to use in her nursery school class. After going apple and pumpkin picking with her class she would always bring us a pumpkin to bake with; don’t we have the best mom!

I have memories of freezing the extras and being happily surprised a few months later to find pumpkin bread hiding among the ice cream in the back of the freezer somewhere. I think I’ll freeze some of this and then try to forget about it so I can find it later.

Oh yeah, and did I mention that the recipe is pareve? No need for adaptation here! Just make sure to use pareve chocolate chips (duh!). Because I thought I had in my freezer, but they ended up being dairy, which is why I made the muffins chipless (yeah, that’s a word).

Luckily, I just got another baby bear pumpkin from my csa! Maybe I will make pumpkin pie! And ravioli! Maybe some soup or risotto, too! I think I may be getting carried away, but for some reason the fresh stuff is so much better than the canned kind. I know it’s pure pumpkin, but why is it so orange?

Here’s a copy of our handwritten recipe for you:

Bizir Revisited

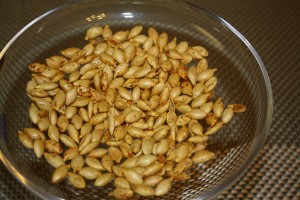
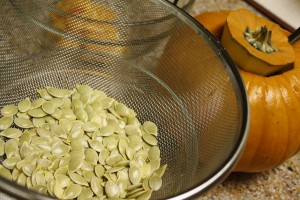
So I know I already showed you how I toast pumpkin seeds to make bizir, but the photo (that’s right, just one photo!) is ugly, so when I got a baby bear pumpkin from csa I took some better pictures for you. The technique is the same, I cleaned, rinsed and dried the seeds and then tossed them with a bit of olive oil, salt and cayenne pepper for some kick before roasting them for 20 minutes at 350 degrees. They’re a little bit harder to crack open than the ones you buy at the markets on Kings Highway, but I made them, so they’re better!

This tiny pumpkin gave me about 2 cups of puree, so get ready for some pumpkin bread and ice cream!

Cold Brewed Coffee

Everyone in the Deal area is going crazy over Rook Coffee Roasters. Yes, we agree, it’s delicious! And adorable and cute and teeny. You know why their iced coffee is so delicious? Because they cold brew it. And they use organic milk. Okay, it helps that they have good quality coffee and everything, but cold brewing is a big deal. They just rock is all.

We’ve been cold brewing our coffee ever since 2007 when the New York Times posted an article about it. We were hooked, and never went back to chilling hot coffee again!
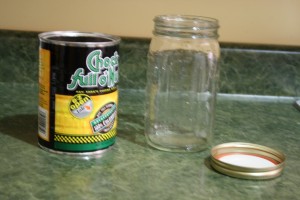
Okay, so I didn’t use the greatest quality coffee this time, but one of the greatest things about cold brewing is the fact that it’s awesome anyway! and Chock full o’ Nuts was on sale last week, so I had to buy it.

Cold brewed coffee is super strong, so either dilute it with some water or have it “latte style” with half coffee and half milk. I like my coffee creamy, so I opt for the latter, but it’s also quite amazing with water (1:1 coffee to water ratio) and a splash of cream or milk. If you’re a fan of the smokey flavor, add some hickory chips in the cold brew and sweeten it – that’s a New Orleans style brew for you.
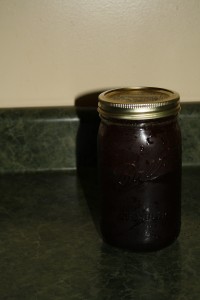
As long as you have a Ball jar (where can we get those GIANT ones, please?), some coffee, and filtered water, you can make great coffee at home. No fancy machines needed. You don’t even need measuring cups, because the measurements are marked on the jars.

After straining, it keeps in the fridge for a couple of months! So now you can enjoy a refreshing cup of iced coffee every Shabbat and during all of these holidays we’re in the midst of!
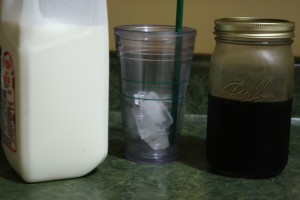
I know you’ll miss the beach, camp, and summer in general. But amazing iced coffee is one thing you don’t have to miss all winter long.

Cold Brewed Coffee from The New York Times:

Ingredients:

  • 1/3 cup of coffee to every 1 cup water
  • Filtered water (I use water from my Brita)
  • A tiny pinch of salt (optional) – I like listening to Alton about everything. He puts salt in his coffee before brewing to get the harshness out of it. Without brewing, there really is no harshness, but salt brings out flavors, and we LOVE coffee, so we put a teeny pinch of salt.

Instructions:

1. Add coffee to jar (I use a 3-cup mason jar, so I put one cup of coffee)

2. Fill Jar with water (3 cups)

3. Let sit on counter for 12-24 hours.

4. Strain coffee grinds – I just pour it straight through the coffee filter in my coffee maker. Sometimes I put some cheese cloth or a coffee filter over another mason jar and pour it through, but that involves me standing over it for a while. This is WAY easier.

5. Enjoy the iced coffee any way you like it! My favorite is some crushed ice, half whole milk, and half coffee. What’s your favorite way to drink coffee?
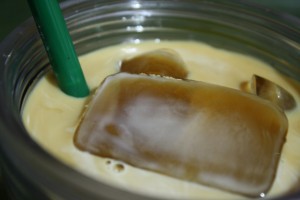
Like the “green” coffee cup? It’s from Starbucks. A grande reusable double walled plastic cup. It rocks. If you see it there, buy 20, because they sell out fast. We also have a “venti” one with a candy-cane striped straw! Oh, and Starbucks gives you a discount if you use it. Other places aren’t so interested in filling it for you, but they’re perfect for bringing coffee from home!