
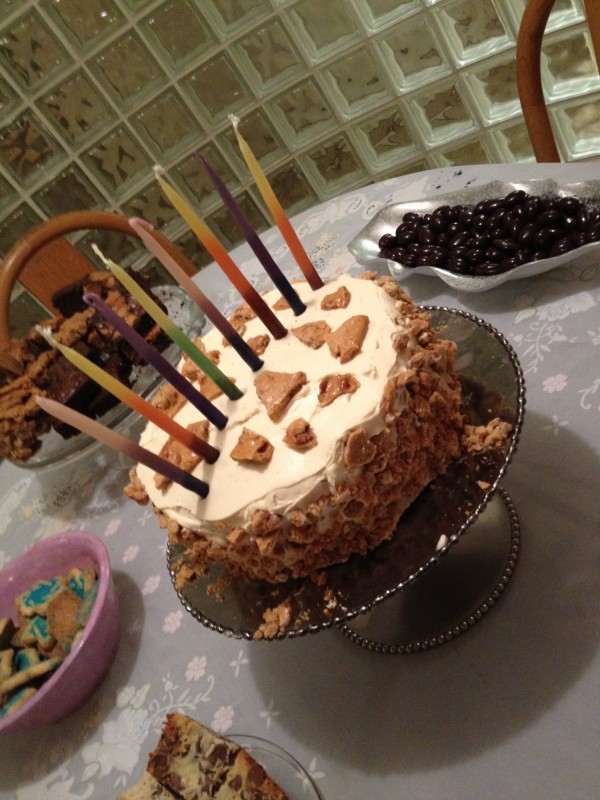
Happy birthday to Stephanie and Jessica! Yup, that’s right, it’s our birthday today!
Today we turn 27 (or 54, if you add us together). And what better way to celebrate our birthday than an amazing maple cake? We’re not sure when the actual maple season is, but I think it’s a fallish flavor, and fall is ending right about now, so why not go with a maple cake? That, and I have been dying to make this cake ever since I got this cookbook.
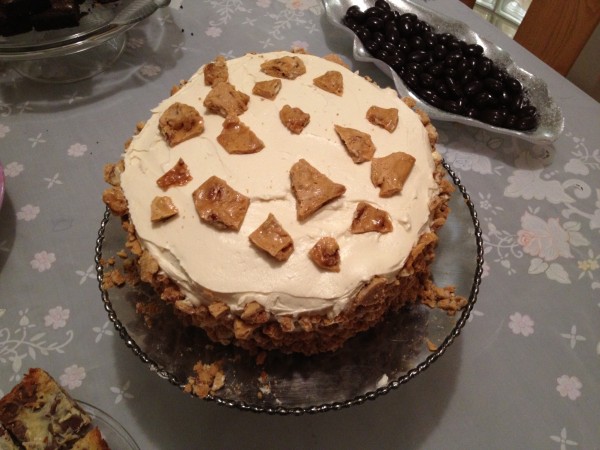
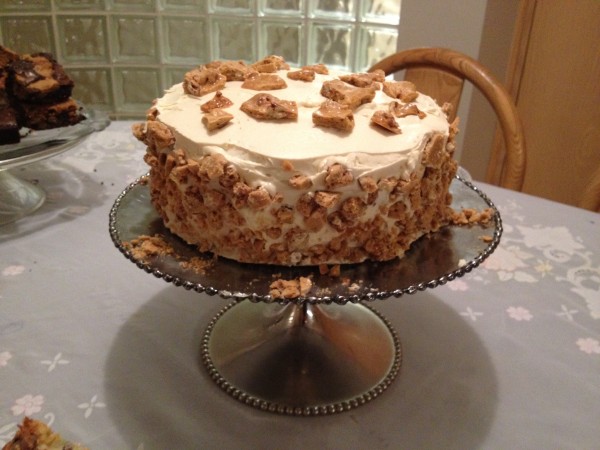
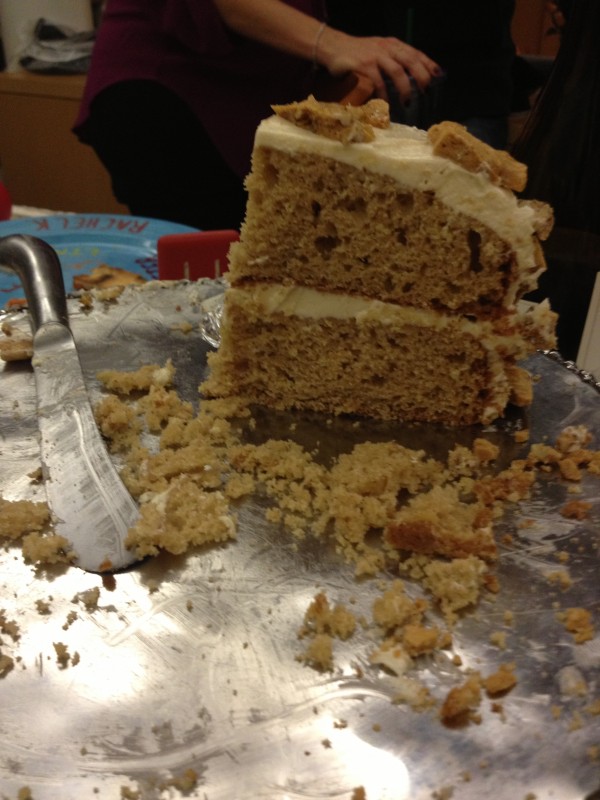
maple crunch layer cake
The cake has a lot of steps – well, one more than usual, really. You have to make the candy, the cake, and the buttercream. Good thing they all store pretty well for a day. The cake can be made a day ahead and just kept wrapped on the counter for a day, but for longer storage, make up to 6 weeks before and freeze it, double wrapped. The buttercream can be made a couple days in advanced, covered, and refrigerated. Just bring it back to room temperature before frosting the cake. And the candy can be made one day ahead, just covered with plastic wrap at room temperature. So, if you want to bake it all in one day, you can. But if you want to do everything step by step and in advance, and only put it together the day of your celebration, that’s fine, too. You can even put it together and store in a cake dome in the fridge, bringing it to room temperature before serving. Whoa, lots of options. That all confused me.
The thing about me, though, is that I was ready to make everything in advance…but then ended up only making the cake. And my mom does not have a stand mixer or electric beater in her kitchen (crazy! I know!) so we had to make the buttercream by hand. We had a bunch of people in the kitchen, so no one’s arm got too tired, but when we finally whipped the egg whites into peaks, we had to start over again after adding the syrup. And then after all the butter was added our whisk and our buttercream broke! I thought we were done for, that I’d have to serve a cake without buttercream. But then, Ralph got a fork and fixed everything. And here is one of the smoothest buttercreams we’ve ever had. It wasn’t too sweet (which was good, because it was covered with candy) and a perfect maple flavor for the maple cake.
Maple Crunch Layer Cake, from Bon Appetit Desserts:
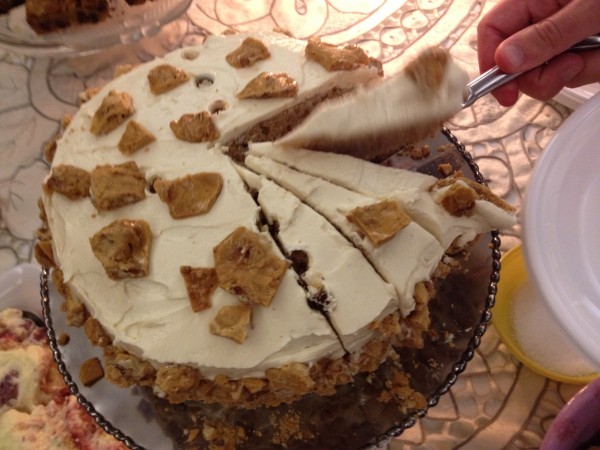
Makes 14 servings (if everyone eats a regular sized slice! We had about 30 people and still a bit leftover)
Ingredients:
For the Cake:
- Nonstick baking spray
- Flour
- 2 1/2 cups all purpose flour
- 2 teaspoons baking powder
- 1 teaspoon baking soda
- 1/2 teaspoon salt
- 1/4 teaspoon cinnamon
- 1 stick unsalted butter, at room temperature
- 1/2 cup brown sugar
- 1 cup maple syrup (none of that pancake syrup!)
- 2 large eggs
- 2 teaspoons vanilla extract
- 1/2 cup buttermilk
For the Candy:
- Neutral flavored oil
- 1 cup maple syrup
- 1/2 cup sugar
- 2 teaspoons apple cider vinegar
- 2 teaspoons baking soda
- 1 cup coarsely chopped walnuts
For the Buttercream:
- 1/2 cup maple syrup
- 4 large egg whites, at room temperature
- 4 sticks unsalted butter, cut into 1/2 inch slices, at room temperature
Directions:
For the Maple Candy:
1. Line rimmed baking sheet with foil and brush with oil.
2. In a medium saucepan, combine syrup, sugar, and vinegar and stir until sugar is moistened.
3. Attach a candy thermometer to the side of the pan.
4. Without stirring, bring mixture to a boil over medium/high heat and boil until it reaches 300 degrees. Watch it closely so it doesn’t burn! Brush sides of the pan with a wet pastry brush and swirl occasionally, about 7 minutes in.
5. Remove pan from heat and mix in baking soda and nuts (mixture will BUBBLE!).
6. Immediately pour mixture onto baking sheet and spread evenly to 1/2 inch thick.
7. Let stand until candy hardens, about 7 minutes.
For the Cake:
1. Preheat oven to 350 degrees.
2. Spray 2 8-inch round cake pans with nonstick spray and coat with flour.
3. Whisk together flour, baking powder, baking soda, salt, and cinnamon in a medium bowl. Set aside.
4. In the bowl of your stand mixer, beat butter until fluffy, about 3 minutes.
5. Beat in sugar. Scrape down sides and beat until all the sugar is incorporated.
6. Slowly beat in the maple syrup (it may look curdled, but don’t worry).
7. Beat in eggs one at a time, scraping down the sides as necessary. Add vanilla.
8. Beat in dry ingredients alternatively with the buttermilk, starting and ending with the dry.
9. Divide the batter between the pans.
10. Bake for about 35 minutes, or until a cake tester comes out dry.
11. Let cool for 5 minutes before removing to a cooling rack to cool completely.
For the Buttercream:
1. In a small saucepan, bring maple syrup to a boil
2. Using an electric mixer (or a stand mixer), beat egg whites in a large bowl until stiff peaks form.
3. Without letting the hot syrup touch the beaters, pour 1/4 cup syrup down the side of the bowl into the egg whites and beat to blend.
4. Gradually beat in remaining hot syrup, avoiding the beaters.
5. Continue to beat until the egg whites are stiff and cool, about 15 minutes.
6. Beat in butter, 1 slice at a time Beat until smooth.
