Cream Scones

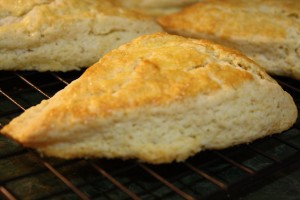
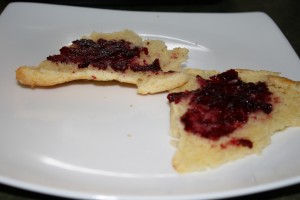
Scones is a kind of scary word. It makes me think of really fancy tea parties that have clotted cream and loose teas. Though they look and sound fancy, they’re really simple and easy to make. They’re especially a pleasure to bake with a food processor. They’re easier than muffins! So next time you have a breakfast party or brunch guests, give these a try! Serve them with some homemade (fine, or store bought) jam, and you’re in for a really special treat!

Scones are the perfect breakfast. The outside is flaky and crunchy, while the inside is soft and moist. There are all different flavors of scones nowadays, but my favorite is definitely this classic cream one.

Cream Scones, adapted from The Art and Soul of Baking.

Ingredients:

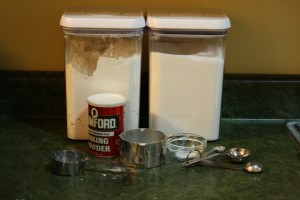
  • 2 cups (10 ounces) all purpose flour
  • 1/4 cup sugar
  • 2 1/2 teaspoons baking powder (I always use aluminum free)
  • 1/4 teaspoon salt
  • 1 stick unsalted butter
  • 1 cup heavy cream
  • 1 egg, lightly beaten (for egg wash)
  • 1 tablespoon raw sugar

Directions:

1. Cut butter into cubes and refrigerate for 20 minutes – It has to be super cold!

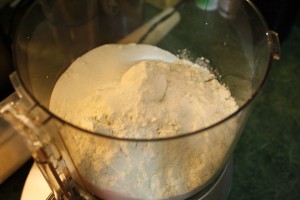
2. Place the flour, sugar, baking powder, and salt in the bowl of your food processor and process for ten seconds to blend well.

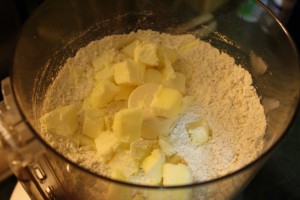
3. Add the cold butter pieces and pulse 5 times at 1-second intervals until the butter is cut into medium pieces.

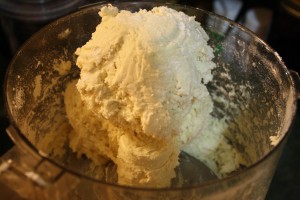
4. Add the cream and pulse another 20 times, or until the dough comes together into a ball in your bowl.

5. Scrape the dough onto a lightly floured work surface and bring it all together.

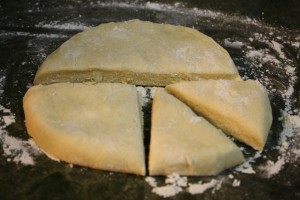
6. Pat dough into a circle about 7 inches in diameter and 1 inch thick.

7. Cut it into 8 pieces (like a pizza pie!) using a chef’s knife.

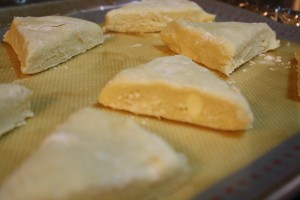
8. Transfer to a silicone-mat (or parchment paper) lined baking sheet

9. Brush the tops with egg and sprinkle with the raw sugar

10. Refrigerate for 20 minutes (this step is actually not in the book, but I find that the dough can get too warm and the scones may spread. This step makes sure that this won’t happen.)

11. Preheat the oven to 425 degrees.

12. Bake the scones for 14-16 minutes. Let cool for 5 minutes on a wire rack.

13. Serve warm or at room temperature.

Herzog Wine Cellars

David and I were lucky enough to visit the Herzog Wine Cellars during a weekend trip to Los Angeles for a tour of the facilities, wine tasting and brunch. Our visit coincided with this year’s harvest celebration. The winery is actually in Oxnard, about an hour outside of LA, and well worth the trip! We learned so much about the wine making process and about kosher wine. If you live in or are visiting the area, you should definitely have a delicious meal (and it will be delicious) at Tierra Sur, accompanied by some Herzog wine!

Can you tell we like wine tasting? Jessica went to Hagafen Cellars on her trip to Napa earlier this year.

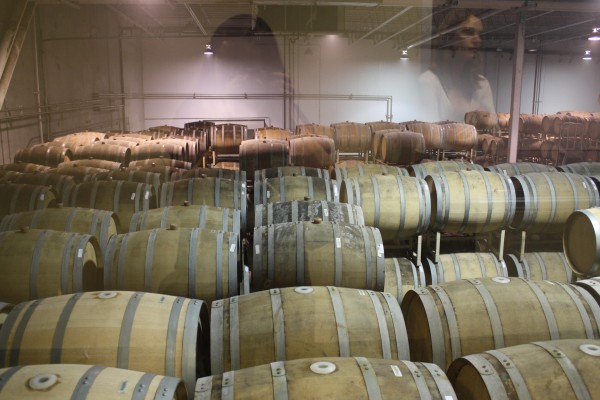
Looking at the wine-making process in these vats and barrels (though glass; sorry for the reflections). The winery here is not a vineyard, so Herzog sources its grapes from all over California.

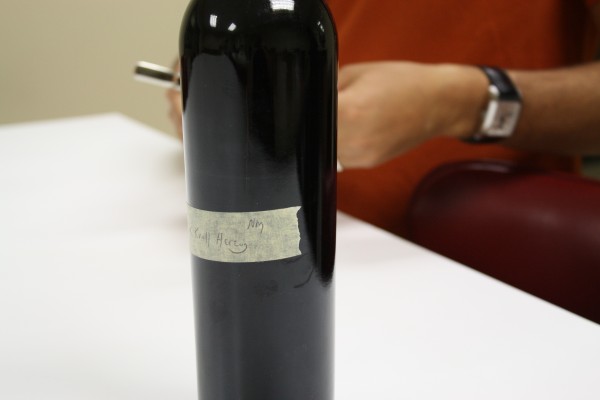
We made it to the wine tasting room and sampled a bottle of wine that hasn’t been released yet. See, the label is just a piece of tape; the real labels haven’t been printed yet. David had to open and pour the wine! Can you guess why?

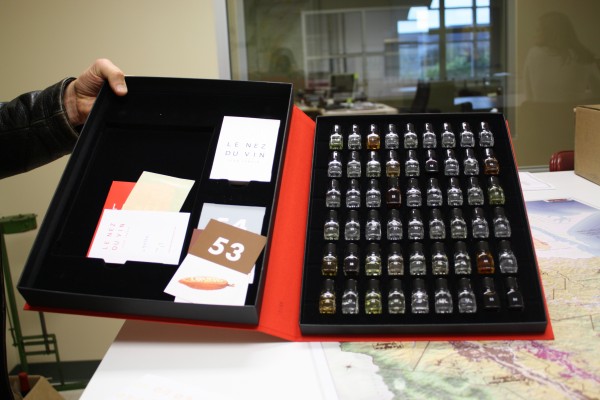
This was one of my favorite parts: bottled smells of wine characteristics. This is the “good” box, which (luckily) is much bigger than the “bad” one. We smelled things like moldy and horsey before moving on to dark chocolate and caramel. I had no idea something like this existed, and still don’t know how they perfectly bottled those scents.

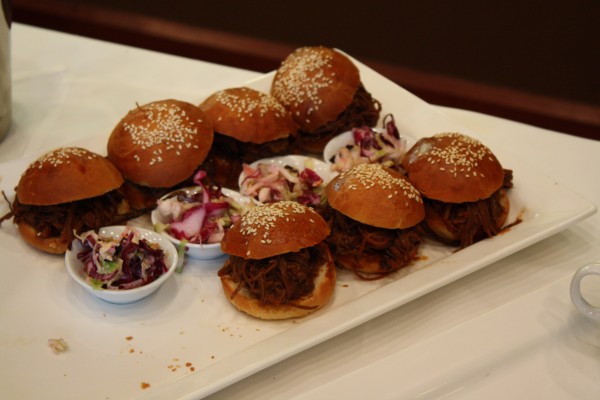
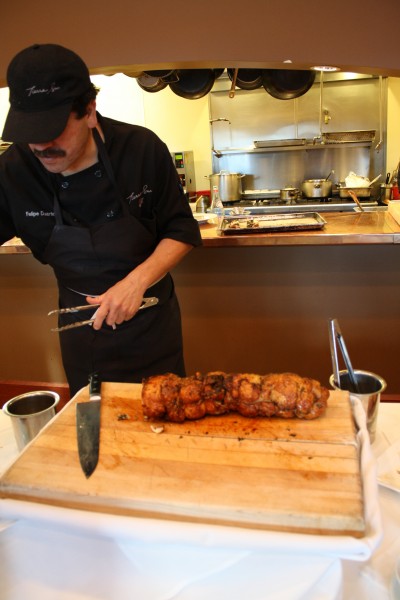
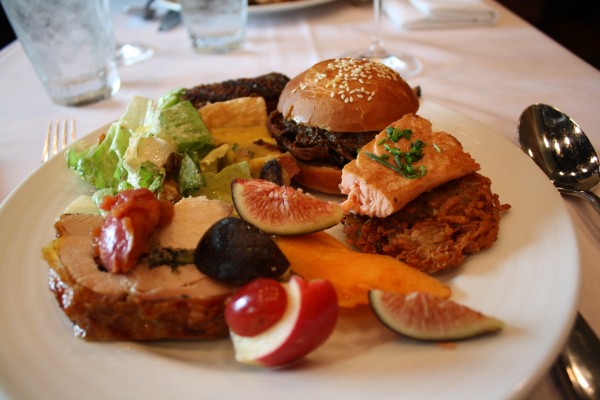
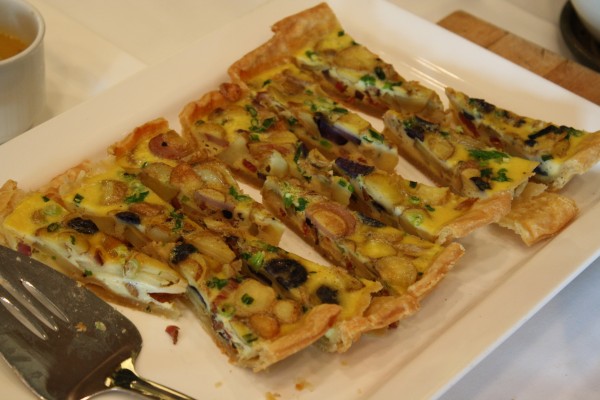
And now, time for brunch at Tierra Sur, the restaurant at Herzog Wine Cellars, where Chef Todd Aaron uses local California produce! Lucky for me, there was a special buffet for the harvest festival, so I got to taste everything. I think those mini barbecued beef sandwiches were my favorite part! David really liked the juicy capon; he asked me to replicate it! When the manager told us what was in this quiche, we thought we misheard him: it’s bacon; lamb bacon! I couldn’t have fit more food on my plate if I tried:

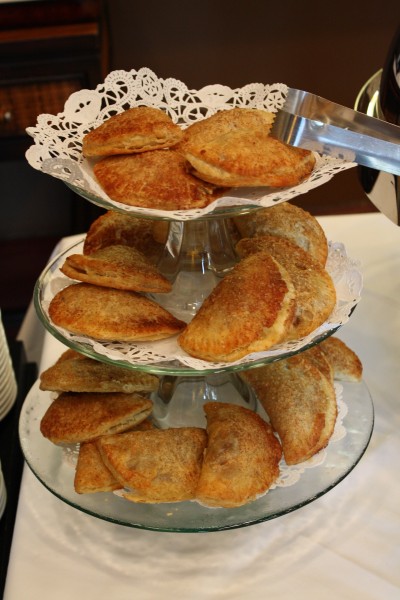
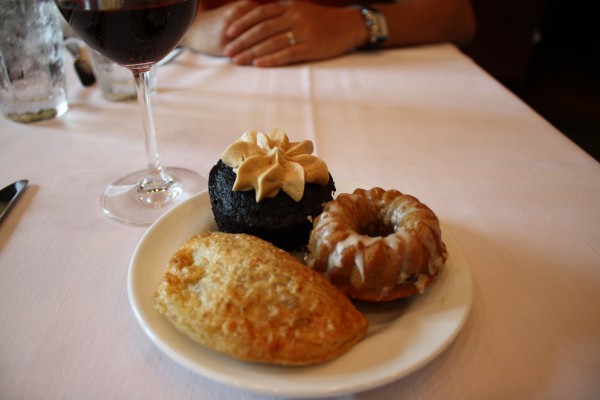
And now, time for dessert. Apple pie, a mini pumpkin bundt and a rich chocolatey cupcake. I can’t decide which was my favorite, they were all amazing. I had to share my plate with David, though. I was too stuffed from the buffet to finish everything!

After our meal, it was time for more wine tasting! We tasted wines that were still in the barrel and that will only be released in the tasting room (become a member of one of their wine clubs to get a bottle!). The Cabernet Sauvignon from Napa Valley was especially delicious, and its undecided what will become of it in the future.

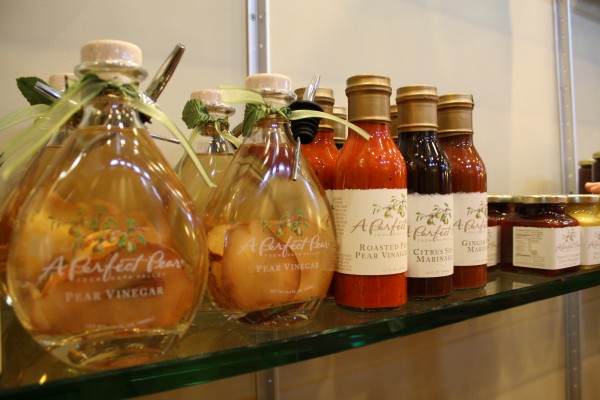
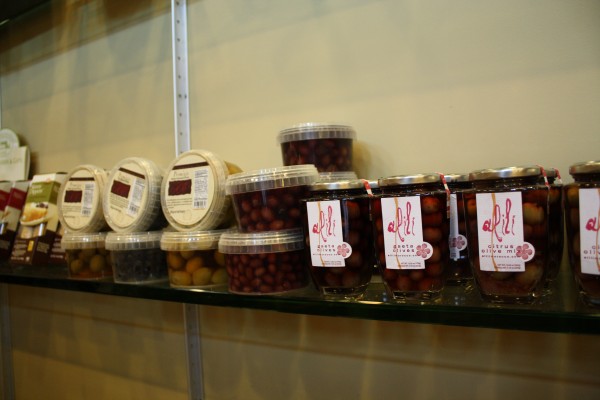
I had to refrain from buying any of the beautiful condiments, marinades, olives and, of course, wines in the gift shop since I didn’t want to check my luggage at the airport. Then I was forced to check my suitcase when boarding, since the overhead bins were full. I could have brought home so many goodies! Ugh! I don’t want to talk about it, I’m still kinda mad…

A special thanks to Monica and Joe for inviting us out and showing us around! What a great way to end my short trip to California!

p.s. I thought that we New Yorkers had it all when it came to kosher food, but that was before I visited LA! What’s your favorite city for kosher eating?

p.p.s. Don’t forget to enter our giveaway!

Kosher by Design Teens and 20somethings + a Giveaway!

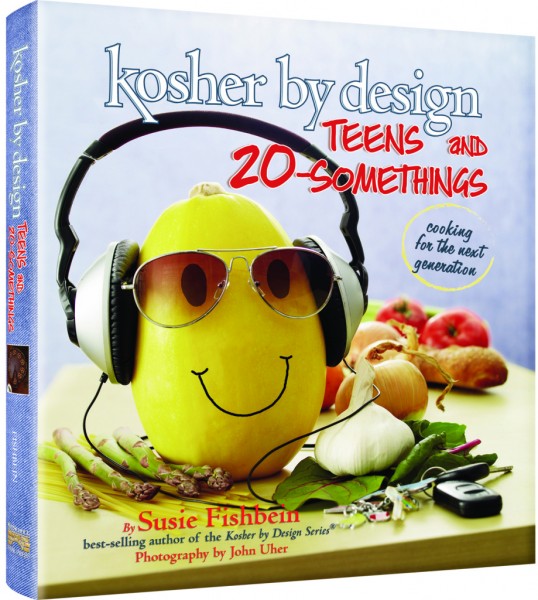
We just got a copy of Susie Fishbein’s new cookbook Kosher by Design Teens and 20somethings, a great resource for just-starting-out chefs and a great addition to the Kosher by Design series! This book is obviously targeting a younger generation of cooks, but don’t let that (or the spaghetti squash wearing sunglasses) turn you off.

Whether you’re heading to college, you’re a newlywed in a new kitchen or maybe you are just sick of takeout, this is a great cookbook for you. Not only does it have simple and delicious recipes (David made fun of the number of them I bookmarked for future dinners), but it has great tips and suggestions for a young cook. Hey, we Kosher Foodies are not exactly beginners, but we are 20somethings with full-time jobs who like to sit down to a home-cooked meal after a long day, so these are great recipes for long days like that. The book even guides readers, helping them plan ahead, and use the same ingredients in one week. Thanks, Susie!

But enough of this talk, you can see for yourself! One lucky reader can get a free copy of the book. How’s that, you ask? There are four ways, and you can enter up to four times:

  1. Leave a comment on this post and share with us your favorite weeknight recipe (we’re always looking for new ideas; meat, dairy, pareve, whatever!).
  2. Follow us on Twitter (@kosherfoodies)
  3. Like us on Facebook (facebook.com/kosherfoodies)
  4. Email 5 of your friends and tell them to check us out (and CC kosherfoodies@gmail.com)

And if you don’t win, don’t fret; here’s a message from ArtScroll:

Preorder your copy today at ArtScroll.com – enter the coupon code KBDBLOG at checkout to save 10% and receive free shipping in the continental U.S. Join us online to find more reviews and giveaway contests! Kosher by Design Teens & 20-Somethings: cooking for the next generation is aimed at the young and digital-savvy fast-food generation and those who cook for them. Susie Fishbein is an everyday cook who loves to share her passion for cooking and entertaining with friends and family. Her enthusiasm for food and entertaining led to the creation of her best-selling cookbook, Kosher by Design, published in 2003 by ArtScroll Shaar Press. For more recipes and updates, visit our blog or connect with us on Facebook and Twitter.

Honey-Lemon Throat Lozenges

Ha-choo – this Kosher Foodie was sick. And while usually people prefer chicken soup, this throat soother is much easier to eat while lying in bed watching TV. Plus, staying in bed all day is b-o-r-i-n-g and you know I like to make candy and would rather be in the kitchen than doing nothing all day.

I got this recipe from Alton’s first Good Eats book. (And yes, I did buy the second one, the Middle Ages, I just haven’t had time to photograph and write up recipe yet! There are way too many things on my Kosher Foodies to do list.)

So, Alton made 200 lozenges. I decided to quarter his recipe, hoping that my throat wouldn’t hurt long enough to need all of them! Turns out, I wish I did make that many. They were so delicious! Honey and lemon, what a great combination! I kept eating them even after my throat was all healed. I used really good quality honey that my parents brought home from Costa Rica. I’m glad I found such a great use for it! You can use whichever type of honey you have around the house.

Ingredients:

  • 4 ounces sugar
  • 3 ounces honey
  • About 2 tablespoons water
  • Zest of one lemon

Instructions:

1. Combine sugar, honey, and water in a very small saucepan. Mix together. Place over high heat until boiling.

2. Cover for 4 minutes.

3. Remove the cover and place a candy thermometer inside. When mixture reaches 295 degrees, remove from heat and let cool for five minutes. Mixture should thicken.

4. Mix in lemon zest.

5. Using a 1/2 teaspoon measure, drop onto parchment or silicone mat lined baking sheet, making sure to leave some space between them, because they’ll spread.

6. Work quickly, because the mixture thickens really quickly.

7. Let cool for 1/2 hour and store in an air-tight container. Separate layers using parchment paper. These will last for about a week at room temperature.
Basil Green Goddess Dressing

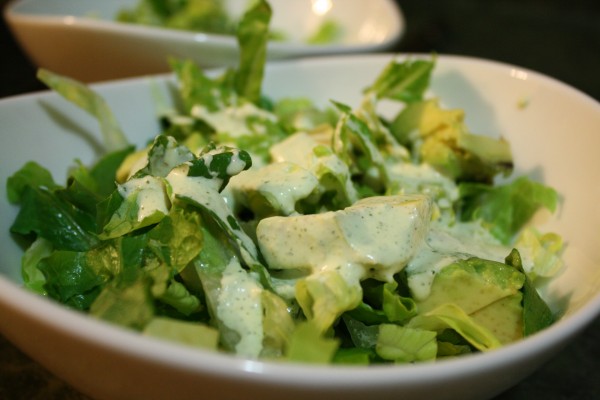
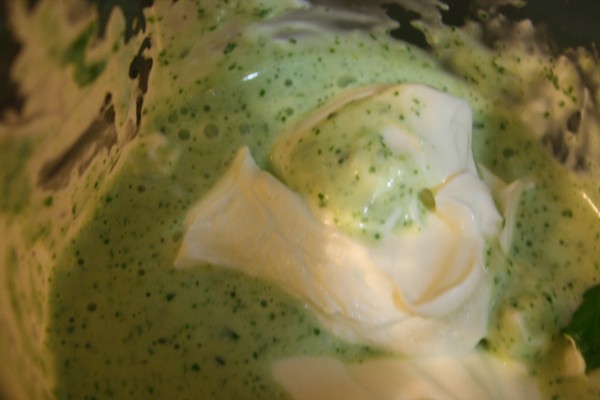
I don’t usually make creamy salad dressings. I usually make just a simple vinaigrette. While leafing through Barefoot Contessa at Home for the millionth time, this salad dressing really caught my eye, and I knew I had to try it. It has a wonderful basil flavor and a nice creamy texture. You don’t need many vegetables to make this salad extraordinary. Just lettuce, maybe some avocado and tomato. The dressing is enough to make just lettuce seem special.
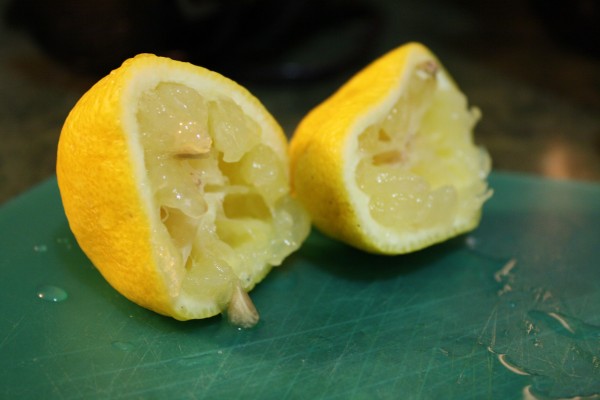
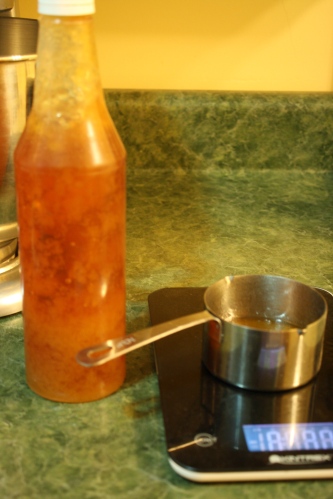
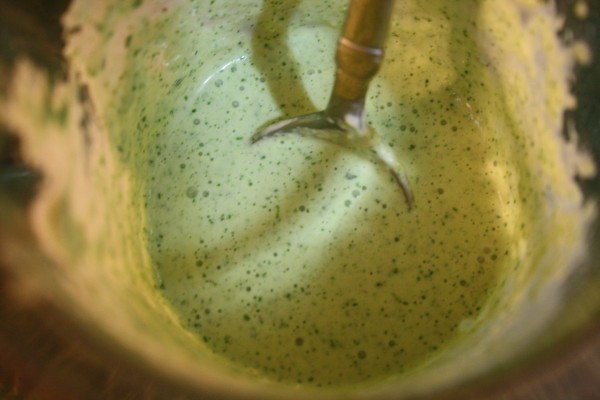
I don’t have a blender. But don’t worry, this dressing was still easy to make, using my immersion blender and the measuring cup that comes with it. Actually, that might have made the task a bit easier. Not only was I able to measure the ingredients in the cup, I also stored the dressing in it and didn’t have to dirty an extra dish! Not owning a dishwasher makes you really think about that one extra cup, bowl, or spoon.

Ina’s recipe for this dressing suggests serving it with Bibb lettuce and a few tomatoes. I happened to have had some romaine lettuce in my fridge, so I just used that. I think a crispy lettuce is just perfect for this dressing, so don’t go pouring it over your baby arugula (or if you try it, let me know).

This is a perfect way to use up some of the basil in your summer garden if you’re sick of making pesto (or you just don’t have enough basil to make pesto). It’s also a good creamy salad dressing for the winter, though. Which is when I like it best.

I’ve actually never made regular Green Goddess dressing before, which is made with tarragon instead of basil. I’m not such a fan of that flavor, and I happen to love basil, so my guess is that I’d like Ina’s updated version better. She also added anchovy paste, something I don’t stock in my pantry. If you want to add it, add a teaspoon.

Not only is this a good salad dressing, but since it’s thick you can use it as a dipping sauce for veggies, a perfect mid-day snack!

Zeke, who usually doesn’t eat any salad, went back for seconds of this one.

Basil Green Goddess Dressing, adapted from Ina Garten. I halved the recipe.

Ingredients:

  • 1/2 cup mayonnaise
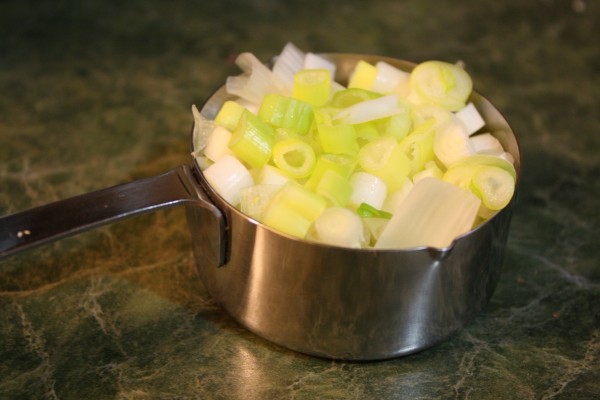
  • 1/2 cup chopped scallions, white and light green parts only (6-7 scallions)
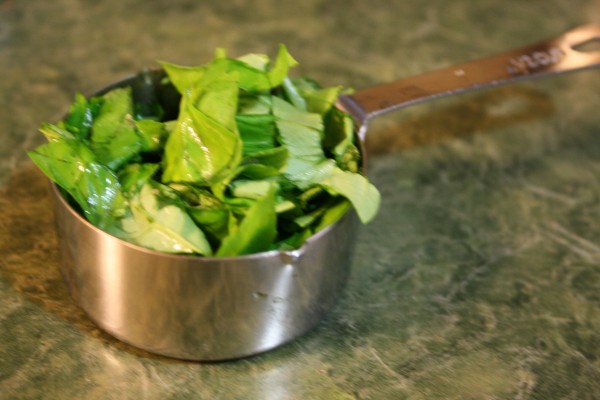
  • 1/2 cup chopped fresh basil leaves
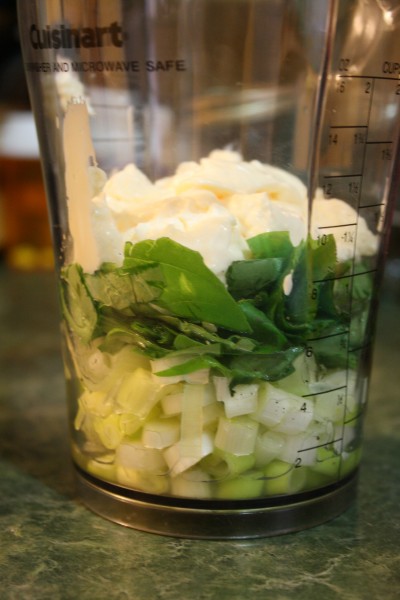
  • 2 tablespoons fresh squeezed lemon juice
  • 2 cloves chopped garlic
  • 1 teaspoons kosher salt
  • 1/2 teaspoon black pepper
  • 1/2 cup sour cream

Directions:

1. Place the mayonnaise, scallions, basil, lemon juice, garlic, salt and pepper in a blender and blend until smooth.

2. Add the sour cream and process until smooth.

3. Pour the dressing over salad and serve.

Marinated Beets

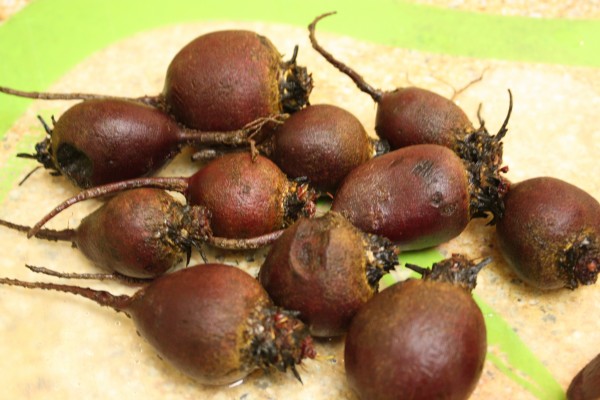
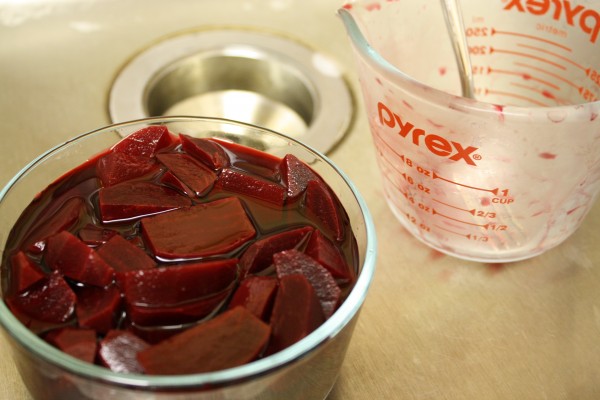
I have been making these beets every time I picked up beets from my csa, and I’m sorry for not sharing with you sooner! They are simple to make, you already have the ingredients in your pantry (I hope) and you make them one night and eat them throughout the week. I like them plain, but you can also add them to salads.

Beets are really healthy! That’s why The New York Times featured them in “Recipes for Health.” So you should make these as a healthy snack. No more potato chips for you! Okay, so maybe I shouldn’t bad-mouth potato chips; they don’t stain my hands red when I handle them! And they’re crunchy and addictive and delicious. But so are these.

Marinated Beets from The New York Times

Ingredients:

  • 1 lb beets, scrubbed and trimmed
  • 1/3 cup red wine vinegar, divided
  • salt to taste
  • 2 garlic cloves, peeled and cut in half
  • 2 teaspoons sugar

Directions:

  1. Put the beets in a saucepan and cover with water. Add 1/4 cup of the vinegar and the salt. Bring to a boil, reduce heat and simmer for 30-40 minutes, until beets are tender.
  2. Remove from heat and add garlic to the pot. Let cool.
  3. While cooling, combine the remaining vinegar and the sugar and mix until the sugar is dissolved. Set aside.
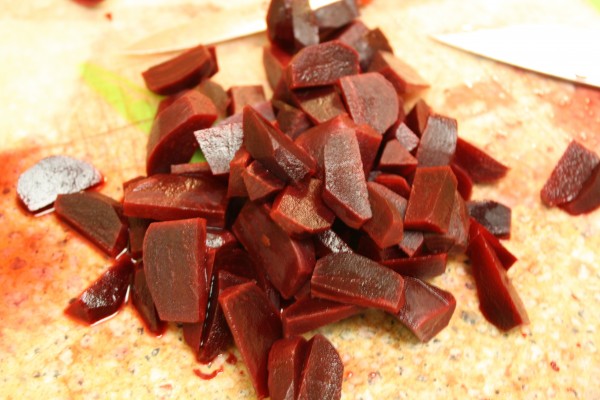
  4. Without draining the pot, remove the beets from the pot, peel the skins off and cut into wedges.
  5. Stir in 1/4 cup of the beet liquid and the garlic into the vinegar and sugar mixture. Toss with the beets and refrigerate for 30 minutes.
  6. Remove the garlic and serve, or cover and store in the fridge for up to a week.

Dakshin Indian Restaurant

David and I just came back from a delicious Indian dinner at Dakshin on 1st Avenue between 63rd and 64th Streets.

I’ve eaten in many Indian restaurants before, but only vegetarian meals, this was my first experience with meat Indian. Dakshin is the only Glatt kosher Indian restaurant among the dozens here in the city.

We ordered the chicken tikka masala and the lamb vindaloo. These entrees did not come with rice; we ordered lemon rice on the side.
The food was delicious, authentic and spicy! The lamb was so tender and delicious and both of the sauces were nice and flavorful. Unfortunately, the portions were so generous that we could barely finish them and didn’t leave any room for dessert. We appreciated the complimentary rice pudding anyway.
The service was excellent, and not just for a kosher restaurant on a Saturday night. Our waiter was very attentive, he helped us choose from the menu and constantly made sure we had enough water.

Have you been to Dakshin? What did you think?

Caramel Ice Cream

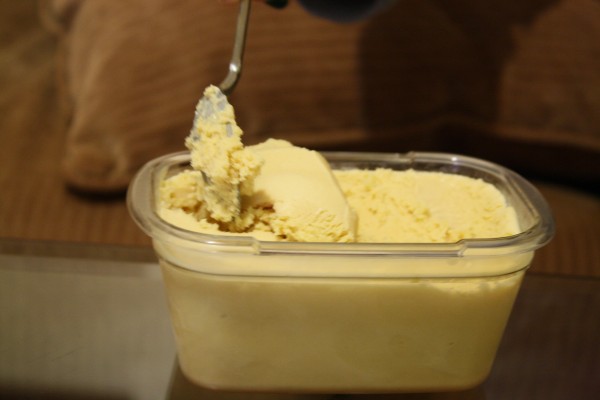
Caramel is one of my favorite ice cream toppings. I also love it in coffee and in candies. I just love caramel! So when I saw a recipe for caramel ice cream, I knew I had to try it. This is actually one of the best ice creams I have ever made (and we make a lot of ice cream around here). It was rich and creamy. Definitely had a great caramel flavor, and with some caramel sauce mixed in and salty peanuts on top, my friends thought it was gourmet ice cream.

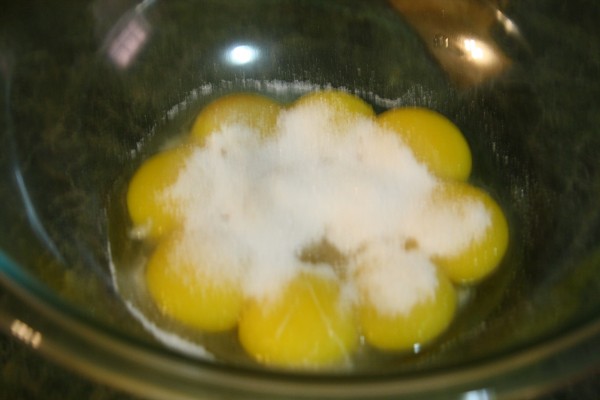
The thing about making amazingly creamy ice cream is that you need a lot of egg yolks. That doesn’t mean you’re going to waste the egg whites, it just means you’re going to have to do some more baking. How about some meringues, pavlovas, or angel food cake? You’re also going to need an ice cream maker.

Side note: has anyone seen the new Cuisinart ice cream maker? How different is it than the older version that we have?

Caramel ice cream, adapted from Thomas Keller:

  • 1 3/4 cups granulated sugar
  • 1/2 cup water
  • 2 cups warm whole milk
  • 2 cups warm heavy cream
  • 10 large egg yolks
  • 1/4  teaspoon kosher salt

Directions:

1. Make sure your freezer bowl is in the freezer.

2. Put 1 1/2 cups + 2 tablespoons sugar in a heavy bottom saucepan and add the water. Stir to moisten the sugar so that it resembles wet sand.

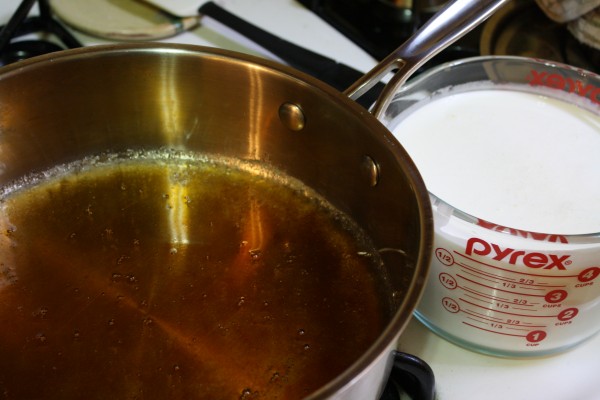
3. Bring to a simmer over medium heat for 15 minutes, or until the sugar melts into a rich amber color. If any sugar crystallizes to the sides of the pan, use a wet pastry brush to brush it off.

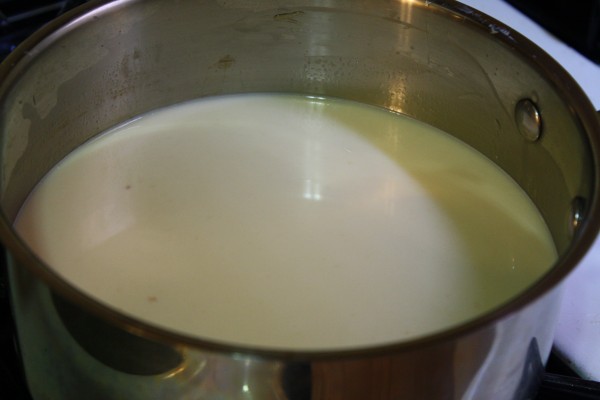
4. Remove from heat and slowly add the milk and cream. If they are warm, the caramel should dissolve. If not, add back to the heat and stir to dissolve the caramel.

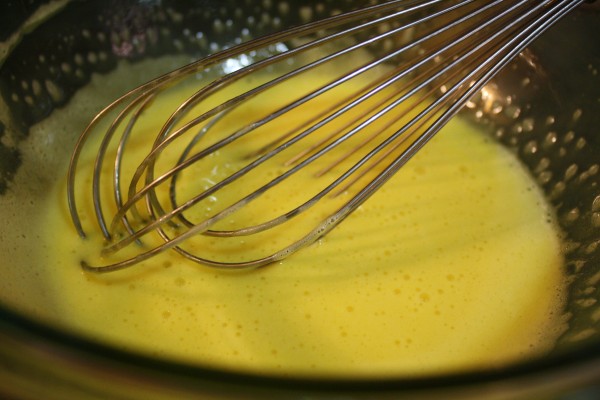
5. Whisk the remaining 2 tablespoons of sugar and egg yolks in a medium bowl until slightly thickened.

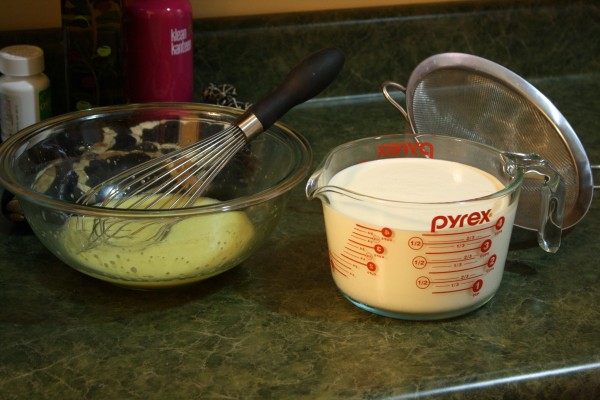
6. While whisking, add 1/2 cup of the hot liquid to the eggs, then add the remaining liquid.

7. Set a mesh sieve over a saucepan and strain the liquid into the pan.

8. Cook, stirring constantly with a wooden spoon, over medium heat until the custard thickens enough to coat the spoon.

9. Pour into bowl and refrigerate until cold, preferably overnight.

10. Freeze according to ice cream maker instructions. Place in freezer to harden.

Cream Puffs

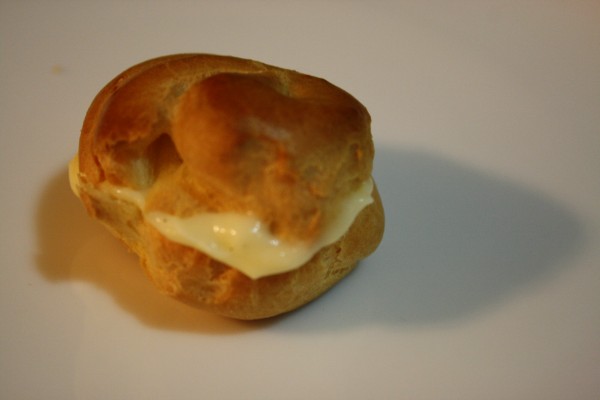
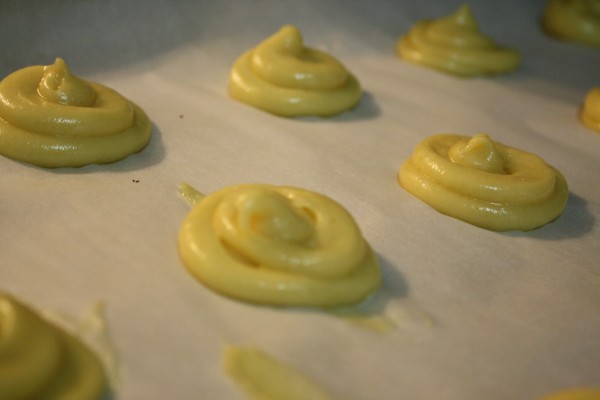
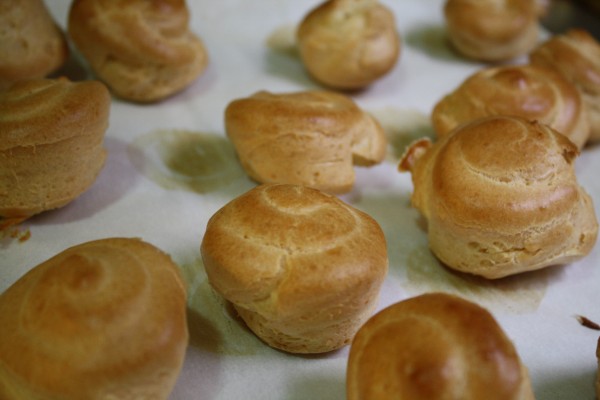
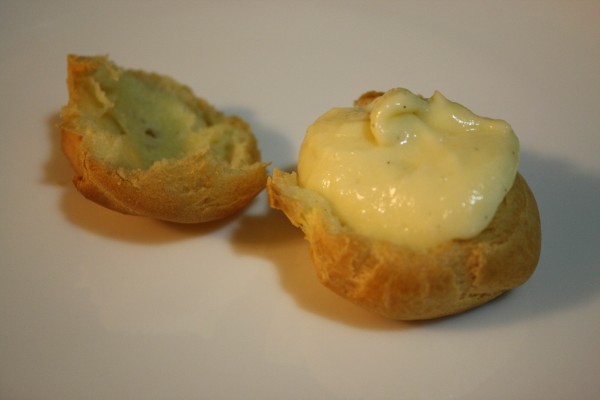
Pate a Choux is not as daunting as it sounds. As long as you have a little bit of patience, it will definitely be rewarded. I first made this dough when I watched Alton Brown’s Good Eats episode on it. He made his eclairs with vanilla pudding, so I did too. This time, I wanted to make my own filling, and what better place to look than the Art and Soul of Baking cookbook. I knew it was the best combination because between the two recipes I needed exactly one stick of butter. They were meant to be combined. I also like the look of little teeny puffs, so I piped concentric circles instead of long Ss.

For the pastry, adapted from Alton Brown:

Ingredients:

  • 1 cup water
  • 6 tablespoons unsalted butter
  • 1 tablespoon sugar
  • 1 pinch kosher salt
  • 4 large eggs
  • 1-2 large egg whites

Directions:

1. Preheat the oven to 425 degrees.

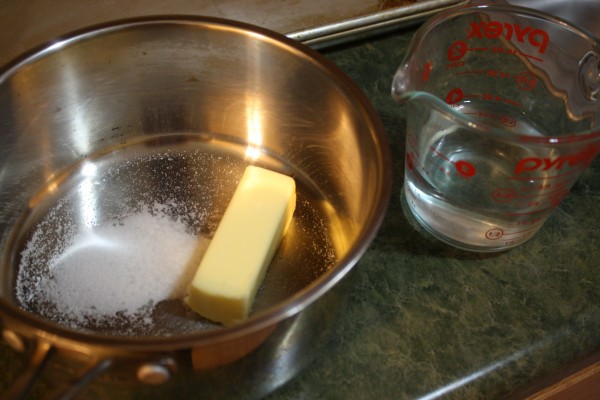
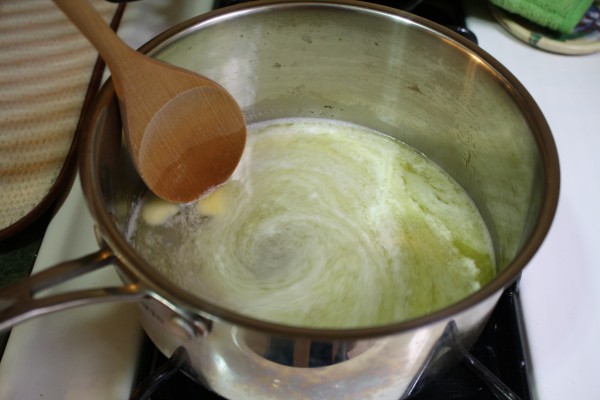
2. Boil water, butter, salt, and sugar.

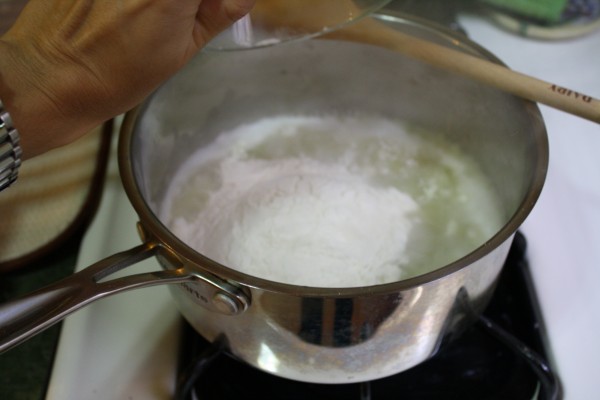
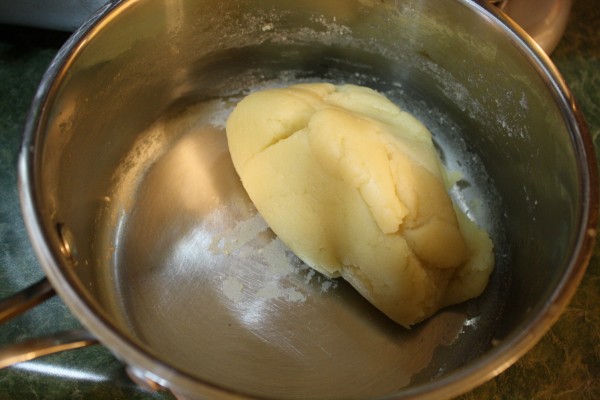
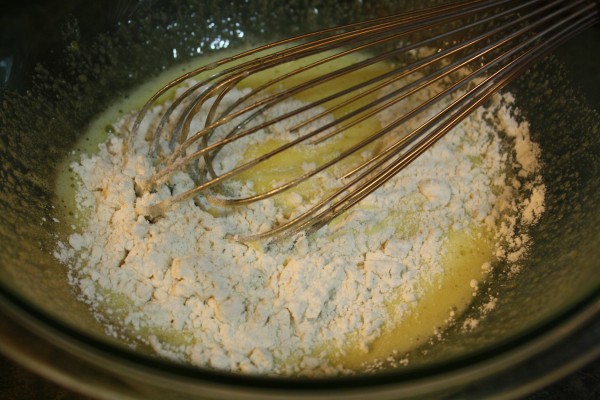
3. Dump all the flour in at once and stir with a wooden spoon, working until the dough comes together into a ball.

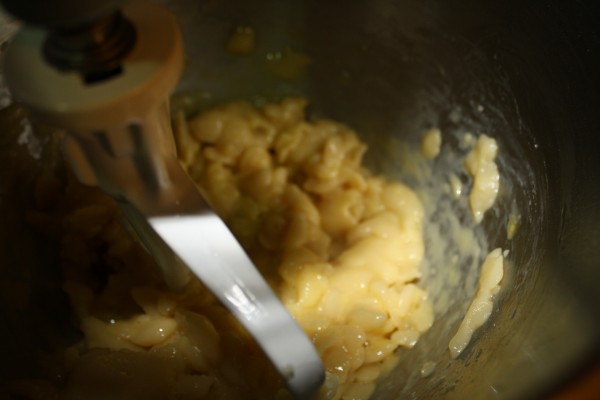
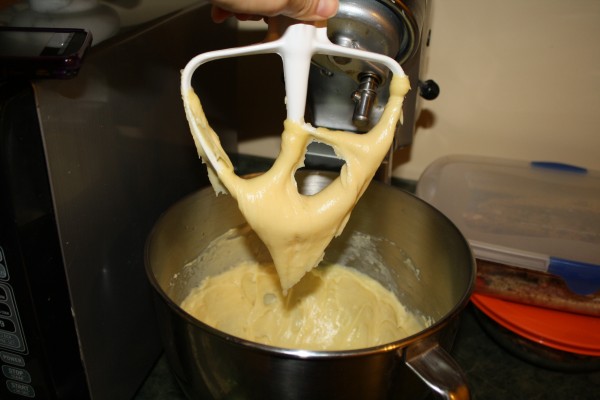
4. Transfer the mixture to the bowl of your stand mixer and let sit about five minutes, until it cools down a bit.4

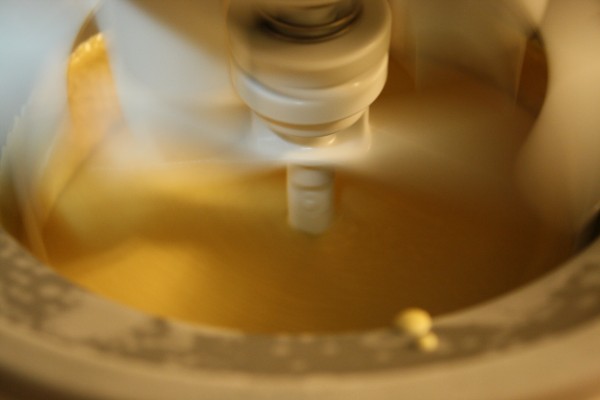
5. With the mixer on its lowest speed, add eggs one at a time, waiting until incorporated before adding the next one.

6. Transfer the dough to a piping bag fitted with a round tip (or a zip-top bag with a corner snipped off, which is what I did).

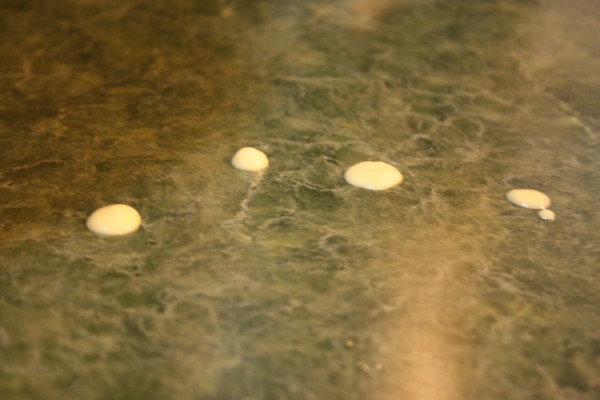
7. Pipe into golfball-sized concentric circles, about 2 inches apart on parchment-lined baking sheets.

8. Bake for 10 minutes, then turn the oven down to 350 degrees and bake for another 10 minutes until golden brown.

9. Remove from oven and immediately pierce the bottom with a paring knife to let out the steam.

For the pastry cream:

  • 1 1/2 cups whole milk
  • 1 vanilla bean (or 1 1/2 teaspoons vanilla extract)
  • 1 large egg
  • 2 large egg yolks
  • 6 tablespoons sugar
  • 1/4 cup all purpose flour
  • 2 tablespoons unsalted butter

Directions:

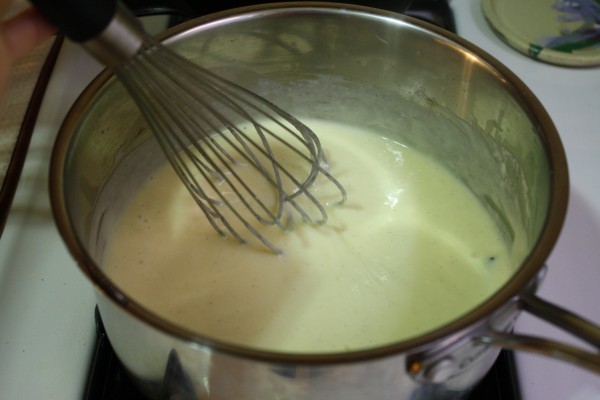
1. Pour the milk into a medium saucepan. If using a vanilla bean, cut in half and scrape seeds into the milk. Add the bean to the milk. Heat until the milk is just simmering, remove from heat.

2. In a medium bowl, whisk together egg, egg yolks, and sugar until smooth.

3. Add the flour and whisk some more, until smooth

4. Pour about 1/2 cup of the milk into the egg mixture, whisking constantly to temper the yolks. Pour back into the sauce pan (while whisking, of course)

5. Heat the mixture, whisking constantly, until it reaches a boil. Cook for another minute until the cream is very thick.

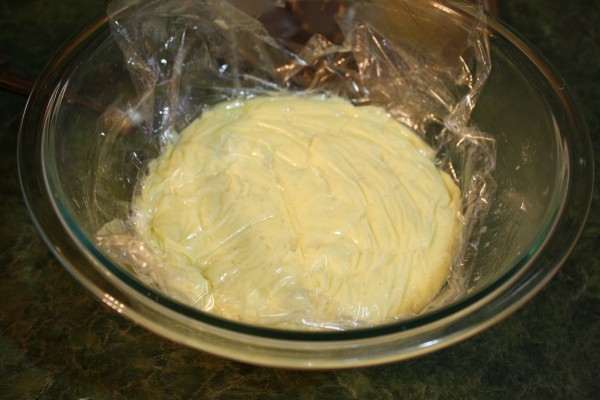
6. Remove from heat and whisk in the butter and vanilla extract, if using. Strain it over a bowl and place plastic wrap directly on surface of the cream. Cool completely either in a bowl of ice water or in the fridge.

To assemble:

1. Cut the pastry in half.

2. Place a spoonful of pastry cream onto the bottom of the dough.

3. Place the top on.

4. Eat!

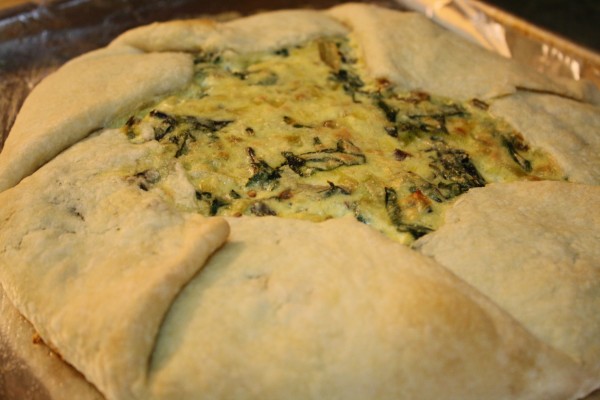
Meatless Mondays: Swiss Chard and Ricotta Crostata

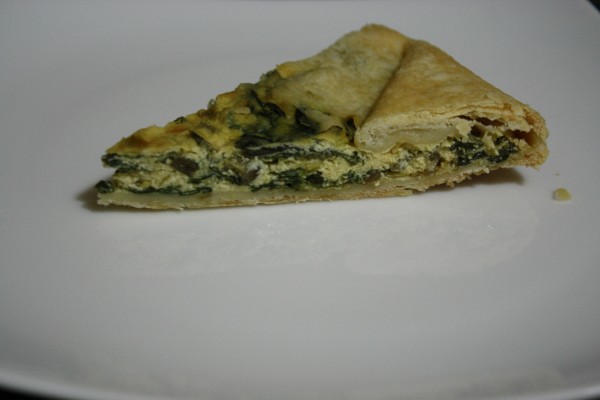
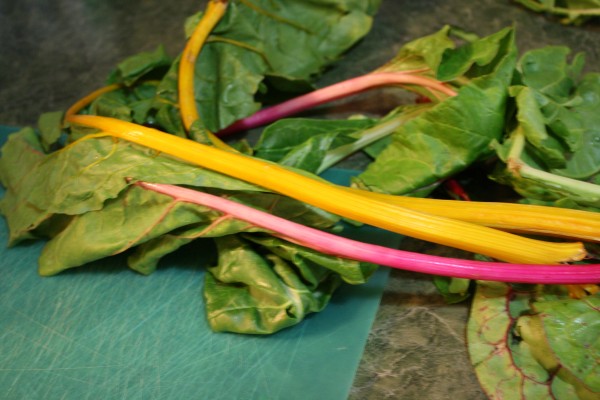
When Marc and Adele forgot their vegetables at my house, I got excited about the idea of using these farm-fresh veggies for a dish. It was basically just a lot of swiss chard and an onion. I used the onion, but had no idea what to do with the rainbow swiss chard. It sat in my fridge for about a week. Then, while watching the Food Network, I saw Anne Burrell make a really great looking crostata with swiss chard and ricotta cheese, something I always have in my fridge. I knew I had to try it!

I made some modifications to the recipe, mainly changing the crust altogether (I always have some dough in my fridge, so defrosting it was a big time saver). The mascarpone dough looked pretty great, so if you want to give it a try, go for it!

Swiss Chard and Ricotta Tart, adapted from Anne Burrell:

Ingredients:

  • 1 recipe flaky pie or tart dough
  • Olive oil, enough to cover a saute pan
  • 2 cloves garlic, smashed
  • 1/4 teaspoon red pepper flakes
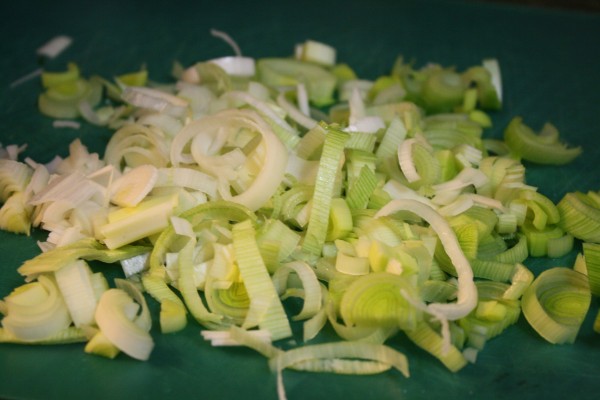
  • 1 leek, washed and cut into half rings
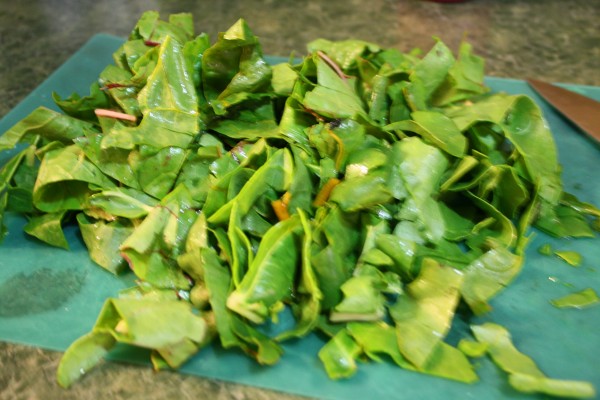
  • 1 bunch of rainbow swiss chard, stems cut into 1/4 inch strips and leaves cut into 1 inch strips
  • 2-3 tablespoons water
  • Kosher salt and pepper, to taste
  • 1 1/2 cups ricotta cheese
  • 1 egg
  • Pinch of cayenne pepper

Instructions:

1. Add enough oil to cover the bottom of the pan and add the garlic cloves and pepper flakes.

2. When the garlic is browned, remove from pan and discard.

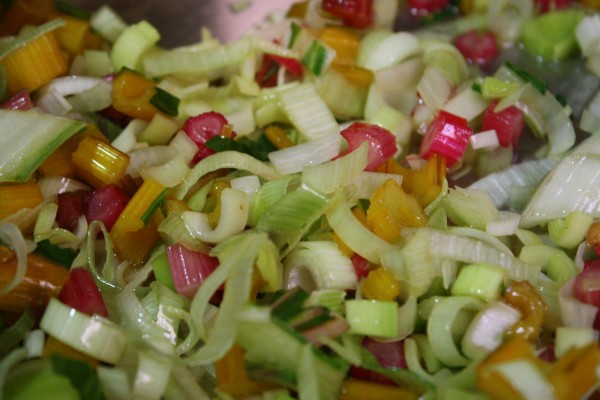
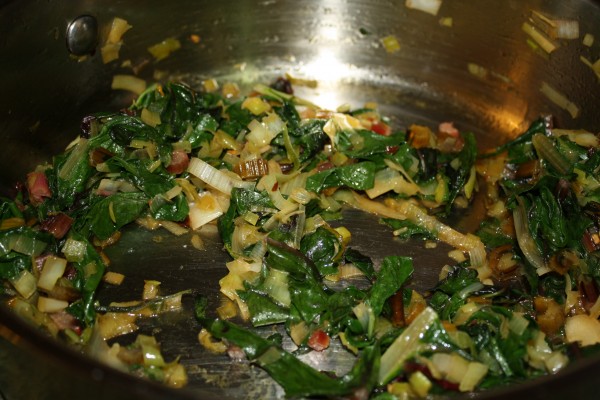
3. Add the chopped leeks, swiss chard stems, and some water. Season with salt and pepper. Cook until soft and the water evaporates, about 15 minutes.

4. Add the leaves and season with more salt. Cook until the leaves wilt.

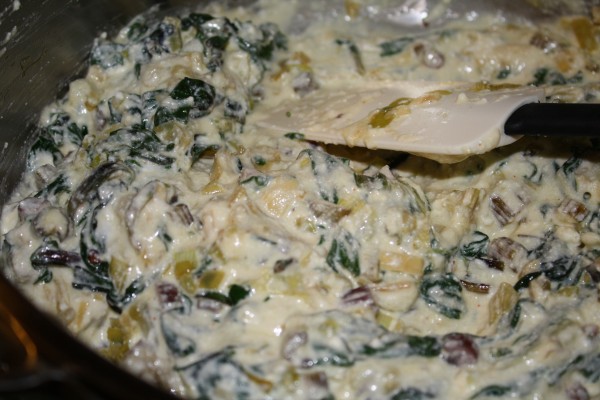
5. Remove from heat and add the ricotta, cayenne pepper, and egg.

6. Preheat the oven to 375 degrees.

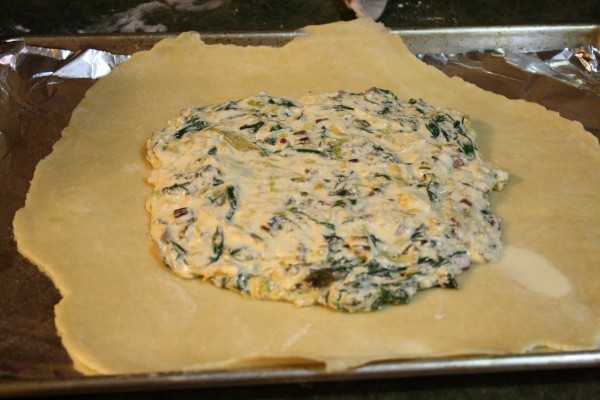
7. Roll out the dough and place on a baking sheet. It’s okay if the edges hang off a little bit, because you will fold them over.

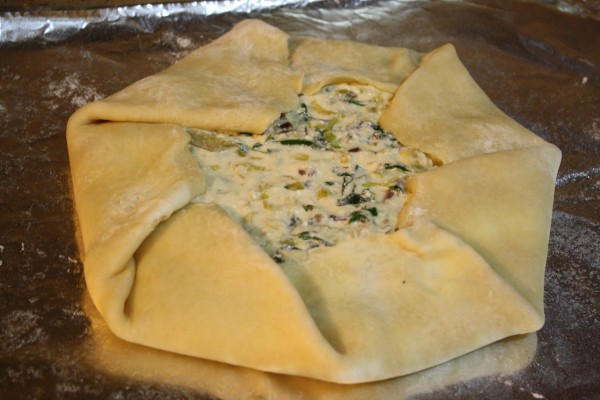
8. Spoon the ricotta mixture in the middle. Fold over the edges. Brush edges with egg wash (oops, I forgot this step).

9. Bake for 35-45 minutes.

10. Let cool for 10 minutes before slicing. Can be served warm or at room temperature.