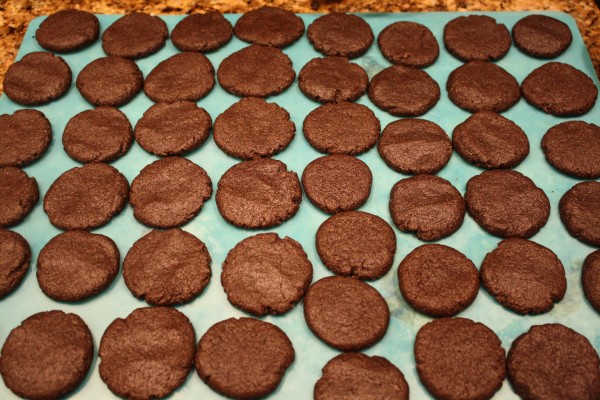
I don’t remember the last time I ate an Oreo. (I really don’t remember the last time I ate a Hydrox, either. Remember when Oreos weren’t kosher and we had to eat the fake ones?) Well, the thing is, Oreos are really good. How can you go wrong with chocolate waferish cookies and a delicious cream filling?! And I happened to be craving them. While a normal person would go out and buy Newman-Os, Stephanie and I decided to bake our own!
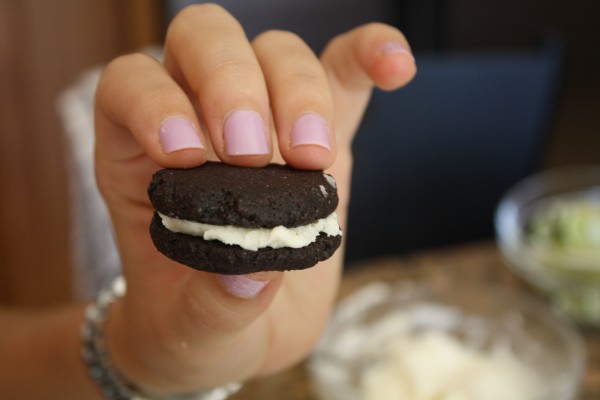
These were actually more of a mix between whoopie pies and Oreos, since the cookies were not quite as hard as Oreos. Either way, they were a big hit. We made half with mint filling and half vanilla. Next time we’ll use food coloring for the mint to differentiate. You can also make the filling any color you want, to fit with a party’s theme or just because sometimes it’s more fun to have colorful food!
These were SO easy to make. We used a stand mixer to make them, but they don’t seem too hard to make with some muscles in a big bowl – you’ll probably want some help mixing that cream till it’s fluffy, though. Call a friend. And you can even make the dough in a food processor if you prefer.
Homemade Oreos, adapted from KitchenLab:
For the chocolate wafer cookies:
- 1 1/4 cups flour
- 1/2 cup Dutch process cocoa powder (unsweetened)
- 1 teaspoon baking soda
- 1/4 teaspoon baking powder
- 1/4 teaspoon salt
- 1 cup sugar
- 1 1/4 sticks butter
- 1 egg
For the filling:
- 1/2 stick butter
- 1/2 stick Earth Balance shortening
- 2 cups sifted confectioners’ sugar
- 2 teaspoons vanilla extract (or 1 vanilla and 1 peppermint)
Directions:
1. Preheat oven to 375 degrees.
2. In the bowl of an electric mixer, combine the flour, cocoa powder, baking soda, baking powder, salt, and sugar.
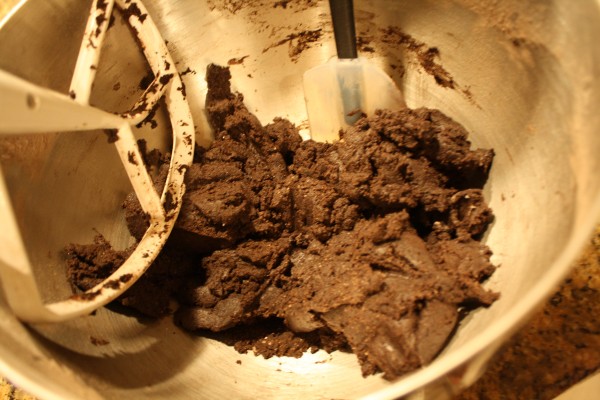
3. While on low speed, add the butter and the egg. Mix until the dough comes together in one mass.
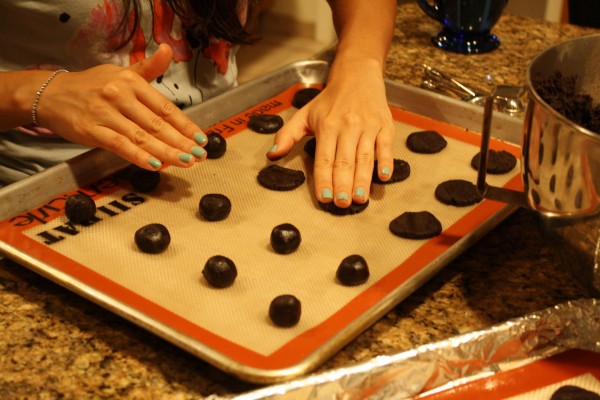
4. Place teaspoon sized balls of batter on parchment paper, about 2 inches apart. Flatten slightly with wet hands.
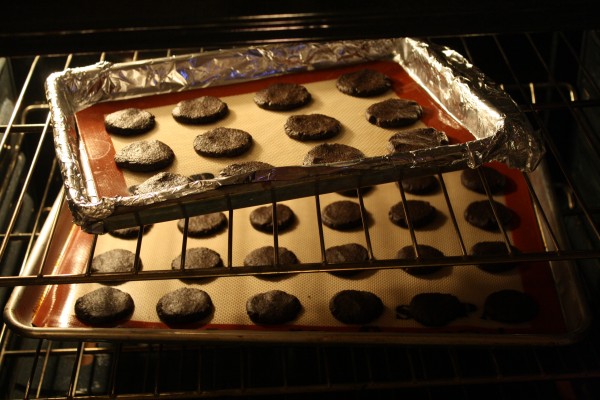
5. Bake for 9 minutes, rotating once halfway through. Let cool on cooling rack before assembling with the cream:
6. Place butter and shortening in the bowl of your stand mixer (good thing I bought an extra bowl for my KitchenAid!). Mix on low speed and add butter and extract.
7. Once incorporated, mix on high speed until light and fluffy, about 2-3 minutes.
8. Place teaspoon size dollop of frosting in the center of one cookie and flatten. Place another cookie, about the same size, on top. Smash together the cookies lightly until the filling is spread evenly between the cookies. Repeat until all cookies are sandwiched. Eat the extra cookie. The original recipe uses a pastry bag, and while it probably makes the cookies much neater and all, I don’t have a pastry bag. But I do have fingers, so I just used those. Do it however you wish.

